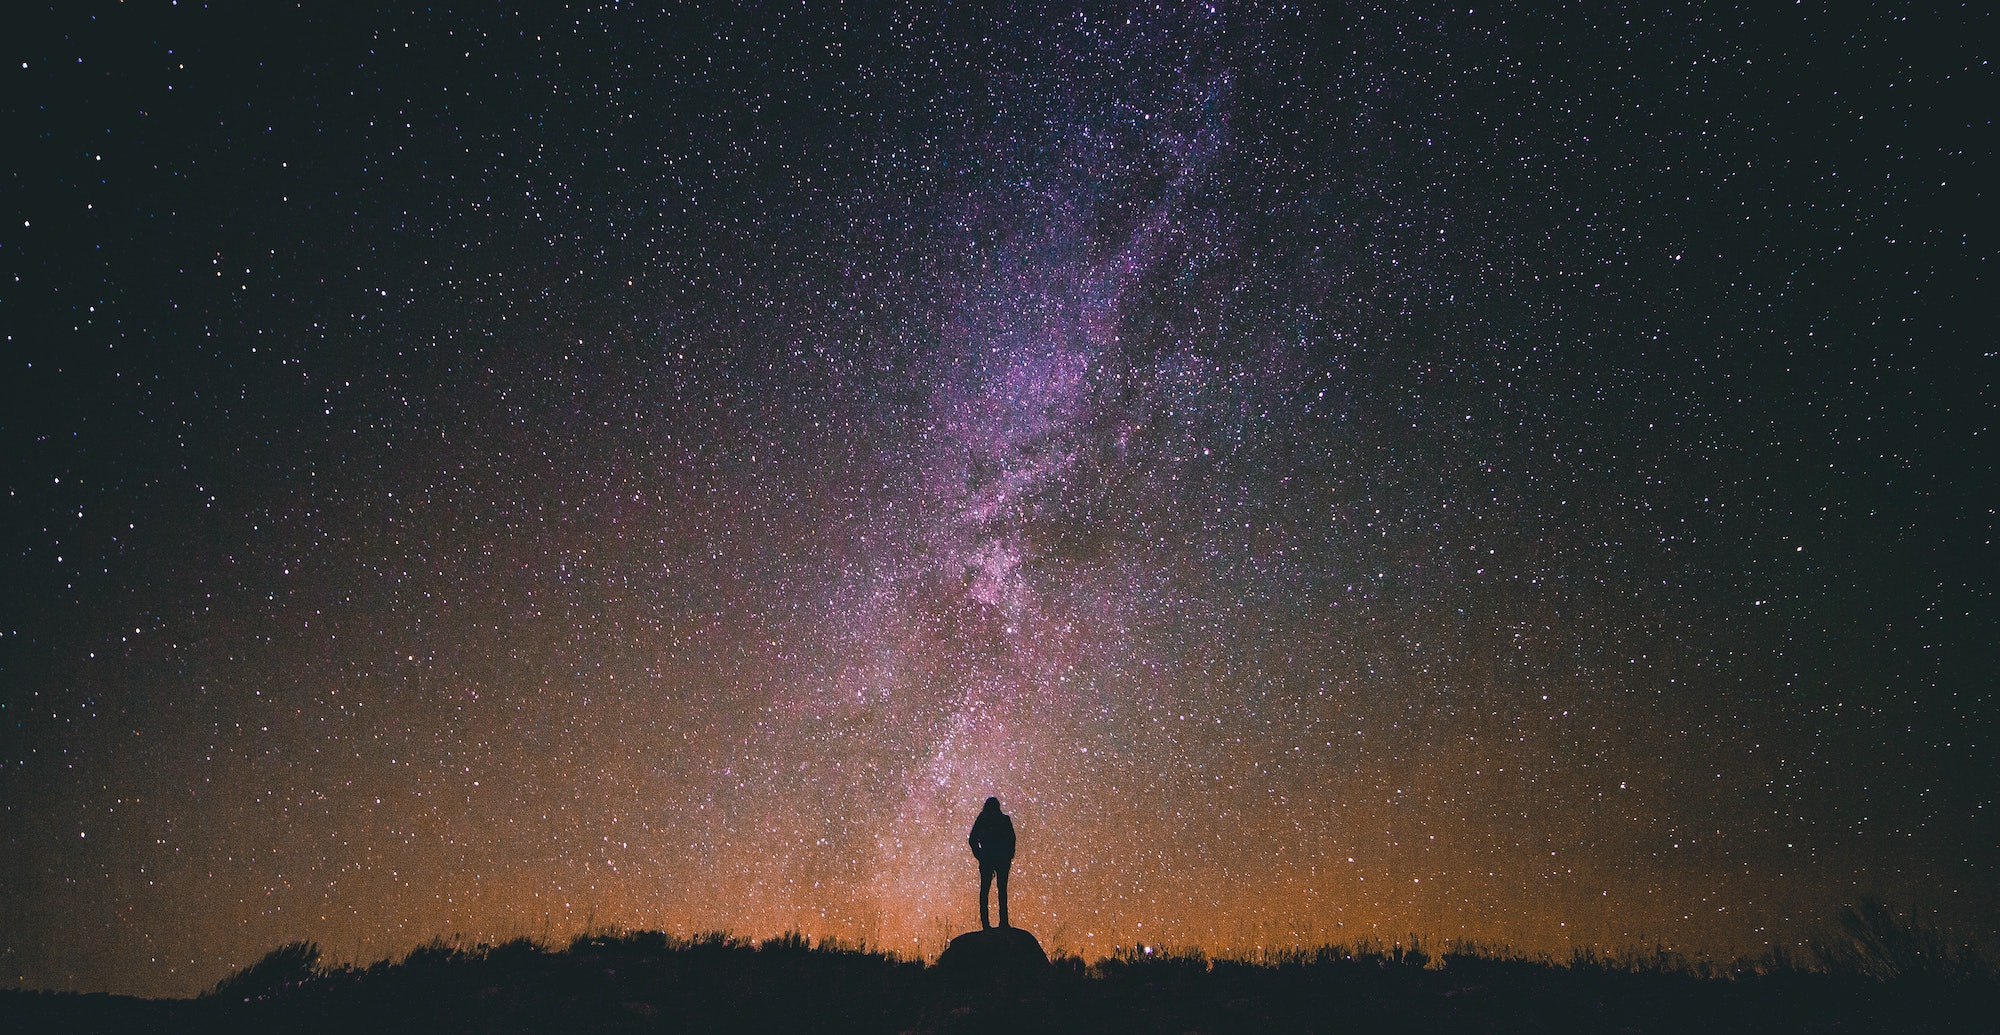
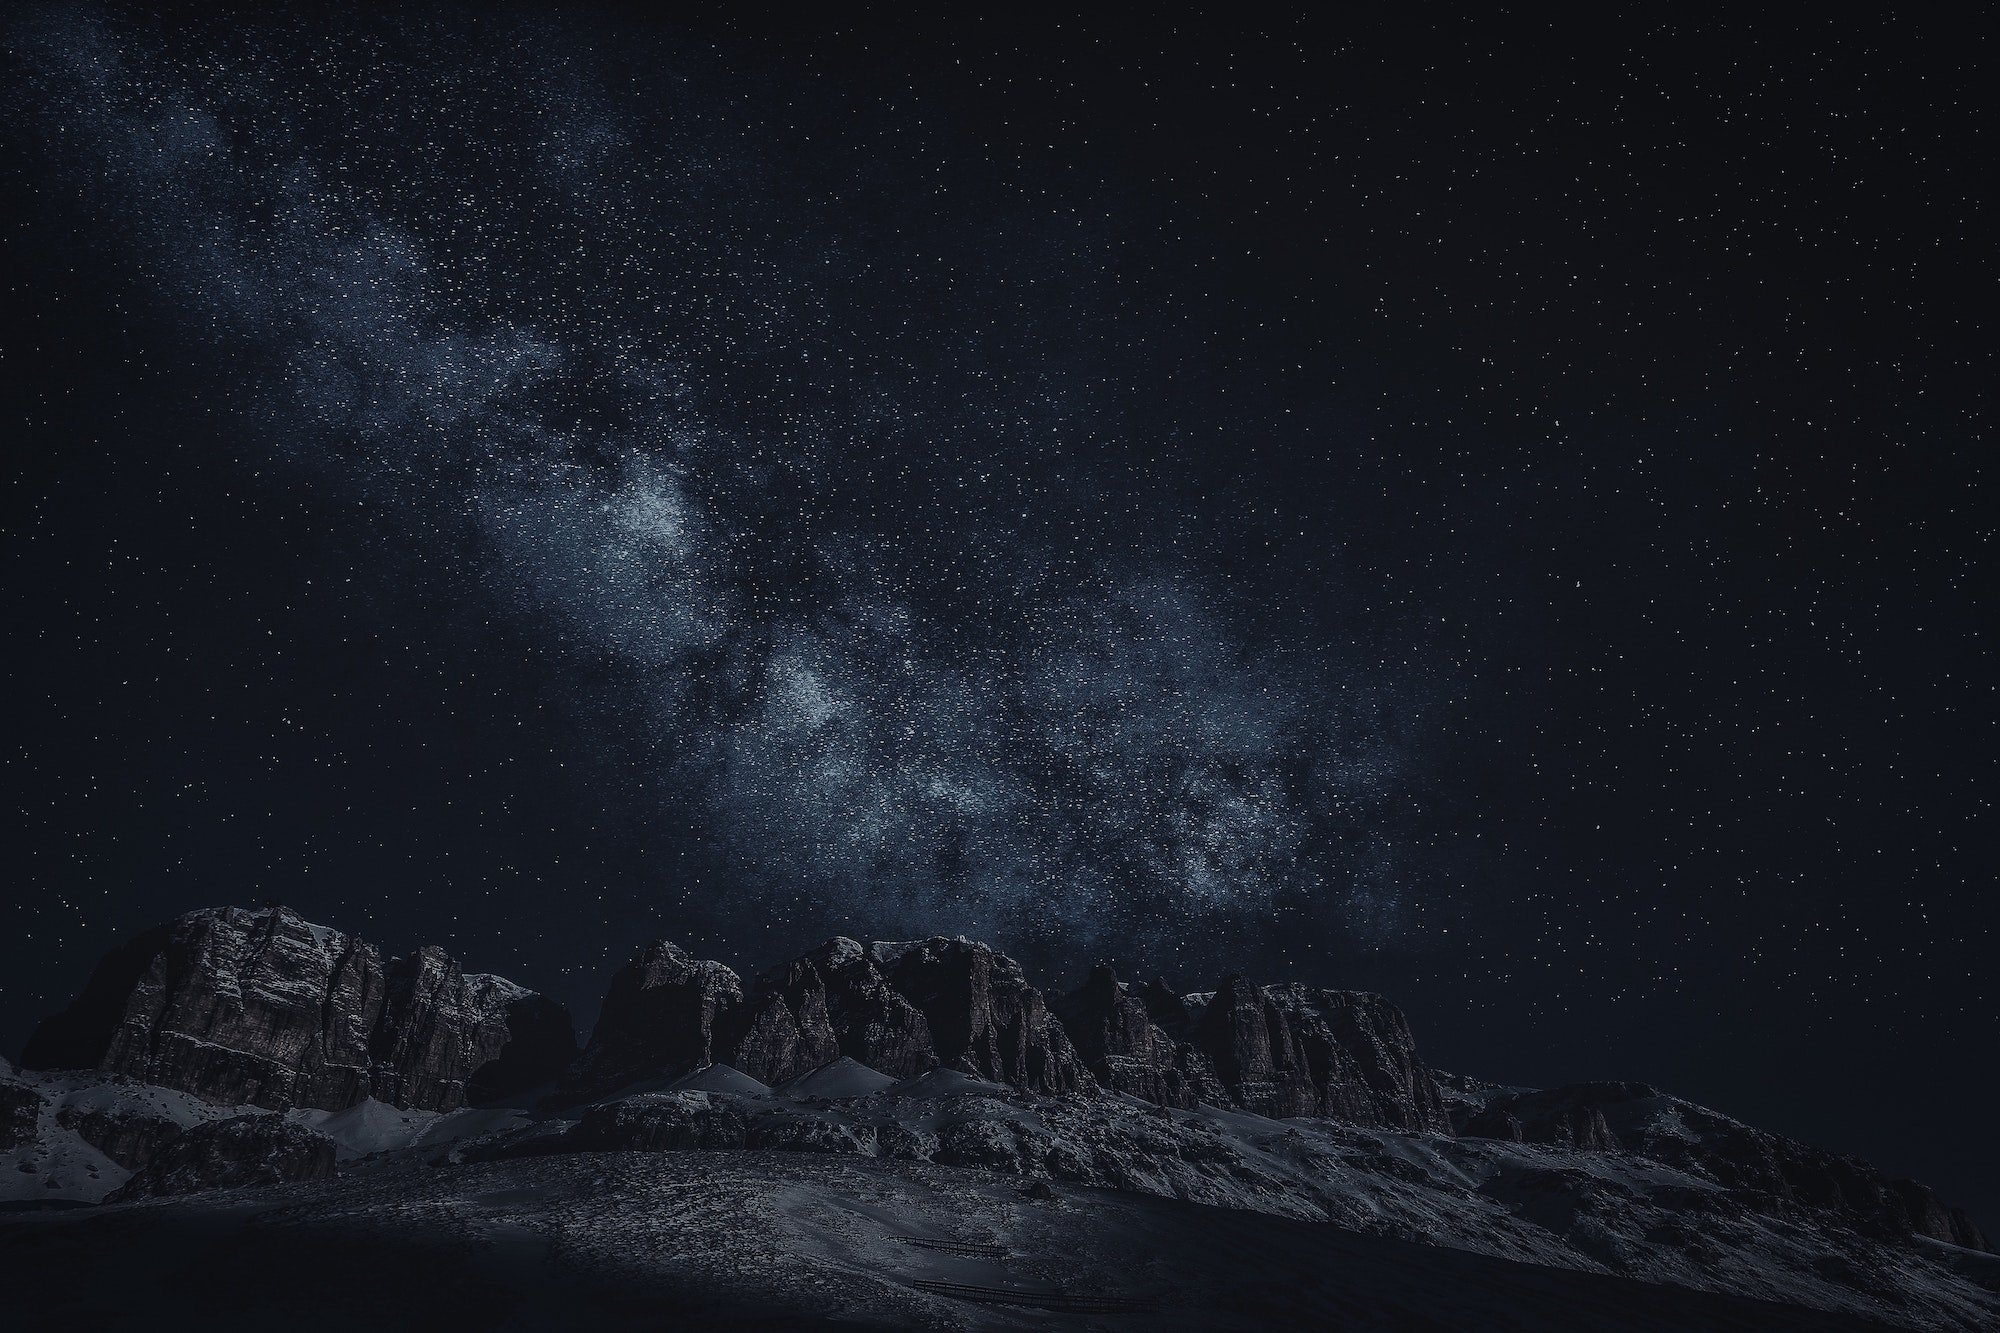
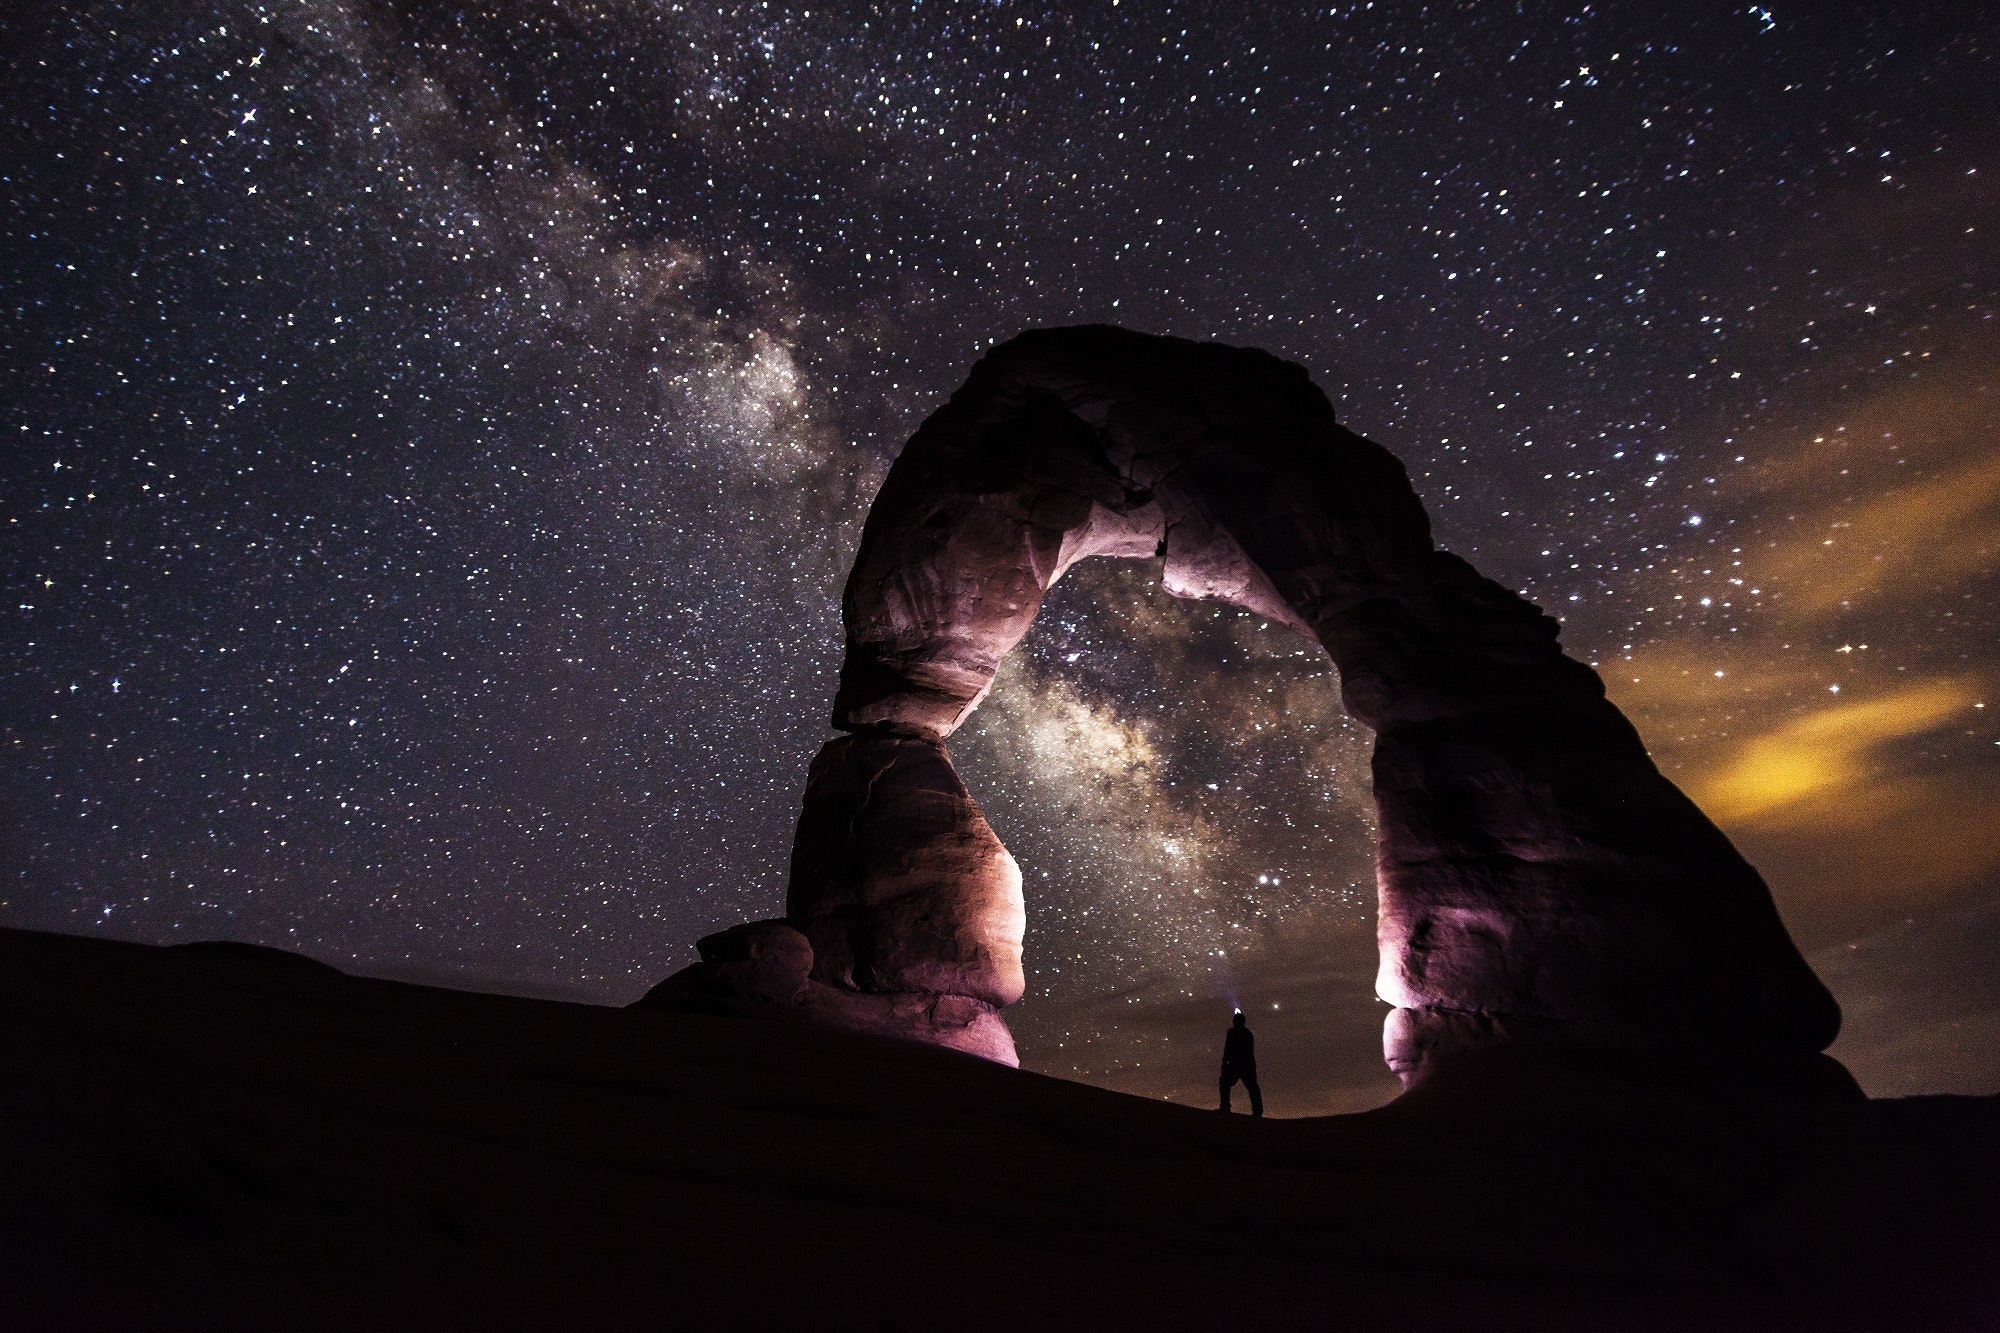
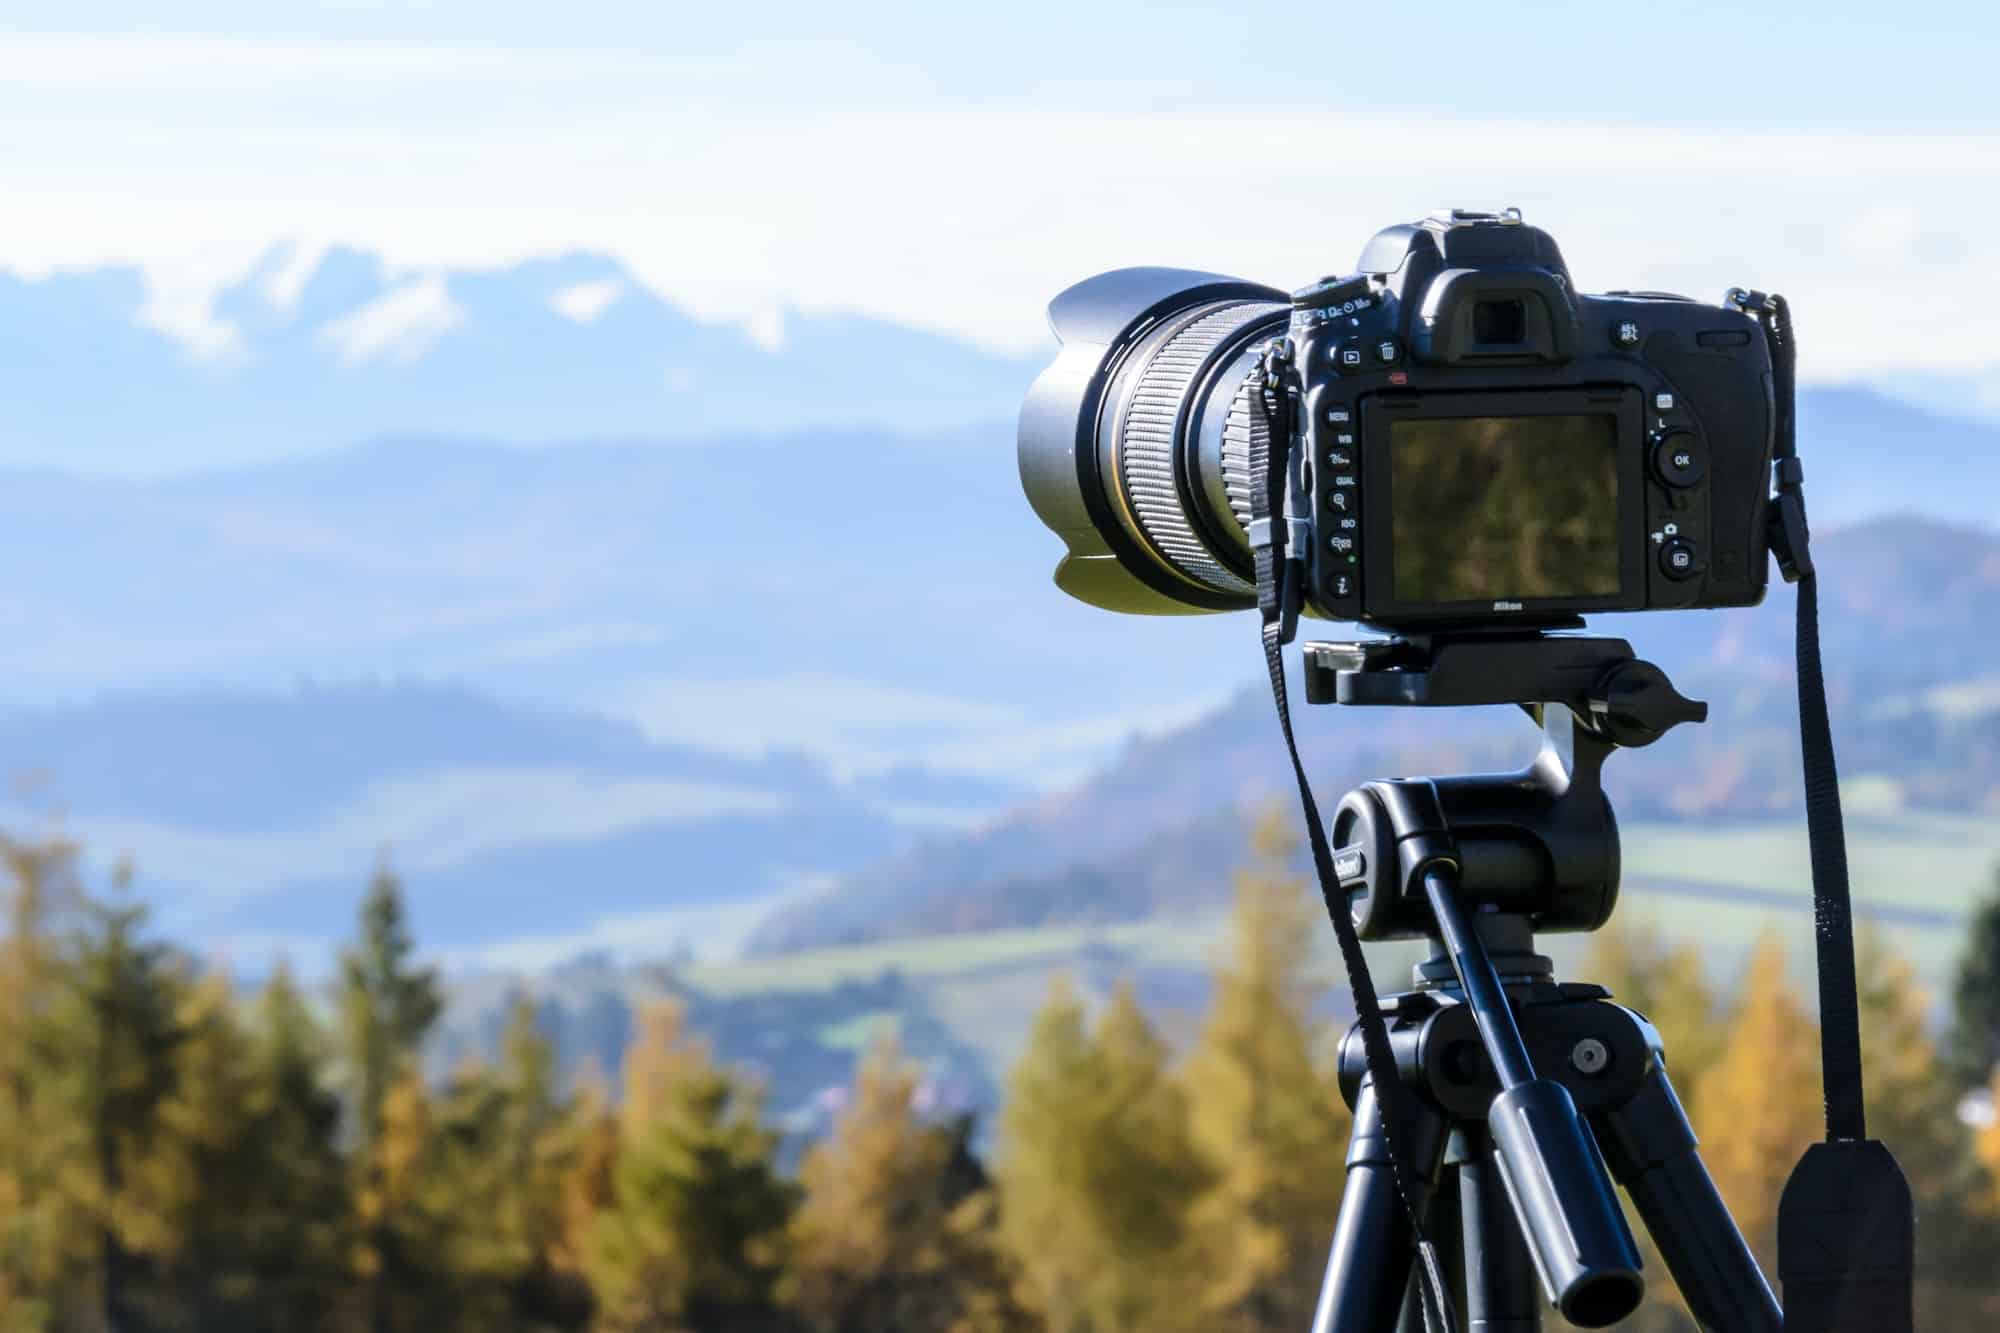
Workshops, masterclasses and exhibitions at Bucharest event promoting the art of photography

Workshops, masterclasses and exhibitions at Bucharest event promoting the art of photography

Is This a Fest? – photography days in Bucharest, a special event aimed at promoting the art of photography, will take place between August 28 – September 3 with a program comprising workshops, masterclasses, talks with artists, portfolio review sessions, and photography exhibitions.

The event will be held at the Resource Center in Photography (CdRF) and is aimed at both amateurs and people passionate about photography, as well as those who want to become professionals in the field.

Through workshops supported by well-known and active photographers such as Andrei Păcuraru (PAC), Cornel Lazia, Adi Bulboacă and Sorin Florea, participants will be able to focus on specific categories of photography, such as portraiture, composition, aesthetics, or niche services such as product photography with the phone.

Meanwhile, the portfolio review sessions, supported by advertising professionals and photographers, will bring the best advice on selecting and arranging photos in the portfolio and their stories.

At the same time, specialists such as Ellen K. Willas – founder and director of WILLAS contemporary, and Wiktoria Michalkiewicz – founder, talent agent, strategist and artistic consultant of Rezo Agency, will share their experience during online masterclasses.

A photography exhibition of the graduates of the CdRF workshops will await visitors in the CdRF space from September 1 to 8, while the show signed by Cornel Lazia, which will have its opening on September 1 at the Is This Art? gallery, will be available until September 30. Access to exhibitions is free.

Further details are available here.

irina.marica@romania-insider.com

(Photo source: the organizers)

NMIMS’s Digital Marketing Certificate: Master the Art of SEO, SEM and More with NMIMS’s Course

NMIMS’s Digital Marketing Certificate: Master the Art of SEO, SEM and More with NMIMS’s Course

NMIMS Global offers a diverse selection of certificate programs in digital marketing, equipping individuals with the expertise needed to thrive in the dynamic realm of digital marketing. These programs are thoughtfully crafted to furnish participants with hands-on skills and practical insights directly applicable to real-world scenarios. The courses are facilitated by industry experts, ensuring top-notch instruction. Conveniently delivered online, these programs are accessible to individuals globally. Upon program completion, participants will amass invaluable insights and applicable knowledge to adeptly manoeuvre through the intricacies of digital marketing, thereby driving organizational success.

Best Professional Courses on Digital-Marketing

Offering College Course Website
Indian School of Business ISB Digital Marketing and Analytics Visit
Indian School of Business ISB Professional Certificate in Digital Marketing Visit
Northwestern University Kellogg Post Graduate Certificate in Digital Marketing Visit

The Professional Certificate Programme in Digital Marketing online course can be used to learn search engine marketing tools.
The NMIMS Global Access School For Continuing Education, which is supported by Stukent, is offering a 9-month online course called the Professional Certificate Programme in Digital Marketing. With this course, students might be able to engage in hands-on learning using one of the top simulation programmes in the world. For everyone in the class who wants to comprehend the various practical facets of digital marketing, this course will be sufficient.

About NMIMS Mumbai

Located in Mumbai, Maharashtra, the Narsee Monjee Institute of Management Studies (NMIMS) is a private deemed-to-be university that was founded in 1981. Two postgraduate programmes and one postgraduate diploma programme are available in the management and business administration stream at the Narsee Monjee Institute of Management Studies. The P.G.D.M. in Business Analytics, M.B.A. in Business Analytics, and M.B.A. in Digital Transformation are all offered at NMIMS Mumbai. The NMAT score is used to determine admission to the Narsee Monjee Institute of Management Studies.

The NMIMS Mumbai placements effort is managed by a placement unit that is fully operational. A hostel, library, sports facilities, canteen, auditorium, medical facilities, IT infrastructure, classrooms, labs, and many other amenities are available at NMIMS Mumbai.

Course Overview:

Students can apply the theory they learn in the Professional Certificate Programme in Digital Marketing course to their actual situations. Every participant has the right to use the appropriate resources and technologies to obtain an advantage over their colleagues and stabilise their careers in this area of digital marketing. Additionally, there are numerous hiring partners who provide the graduates of this online programme with the correct opportunities after they have successfully completed it.

Particulars
Details
Course Name Certificate Program in Digital Marketing
Course offered by Narsee Monjee Institute of Management Studies (NMIMS), Mumbai
Medium of Instructions English
Course Type Part-time, Online
Course Duration 9 Months
Course Fees Rs. 78,000

Course Highlights

  • NMIMS Certificate of Accomplishment
  • Online Programme
  • 9 Months of Study
  • Actual lectures
  • Permanent Access
  • Interaction between students and faculty
  • Experts’ meetings
  • Interactive Learning
  • Services for students

Course Fees

The cost of the Professional Certificate Programme in Digital Marketing is Rs. 78,000, but members of the special armed forces receive a 20% discount. The candidates have the option of paying either online or with a demand draft drawn in the name of NMIMS. The use of credit cards from several banks, including AXIS, ICICI, HDFC, Standard Chartered, and more, enables the use of EMI options for 3, 6, 9, and 12 months.

Eligibility Criteria For The Course

Eligibility Criteria Eligibility Conditions
Educational Qualifications Students must have completed their HSC/10+2 as well as their SSC from an accredited board in order to join this particular programme.
Work Experience Two years of job experience.
Certificates Qualifications The NMIMS Professional Certificate Programme in Digital Marketing will be made available after the students have paid their tuition and passed the quarterly test requirements.

What Will I Learn From The Course?

The students will learn the following after completing the professional certificate programme in digital marketing:

  • Create a web presence that is search engine optimised utilising both on-page and off-page SEO approaches.
  • Putting best practices to use when producing eye-catching displays, search, and retail advertising.
  • The abilities that candidates need to attempt Google Ads Certifications may be put to use.
  • Examining the various benefits and drawbacks of social media networks, as well as any related content strategies.
  • Candidates have the ability to evaluate, optimise, and analyse social media advertising initiatives.
  • Applying abilities required to both develop, amplify, and distribute content across different platforms, and technologies along with attempting Facebook Blueprint Certifications.
  • Using a structured decision-making framework, such as incorporating data analysis, web analytics, data visualisation, and other techniques, enables candidates to make data-driven judgements.
  • Apply A/B testing ideas to analytics tools like Google Analytics, Facebook Analytics, SEMRush, etc. to make the best possible business decisions.

For whom is the course meant?

Students must choose this programme if they want to become one of the following:

  • Manager of digital accounts
  • Executive of digital marketing
  • Manager of digital marketing

Admission Process of The Course

The following procedures must be taken in order to enrol in the Professional Certificate Programme in Digital Marketing classes:

  • Step 1: Visit the official website here
  • Step 2: The pupils must locate and click the “Register” button in the upper right-hand corner of the website.
  • Step 3: After clicking, the students must either register again or pay using their previous login information.
  • Step 4: The students will be appropriately enrolled after the course payment is successful.

Application Details of The Course

The students do have to complete some of their information on the NMIMS portal in order to register as new candidates. The specifics include personal data, address information, programme information, academic information, and lastly work experience information.

Frequently Asked Questions

1: What is NMIMS’s phone number?
Ans: The NMIMS phone number to call for questions about admission is 1800 1025 136.

2: How many quarters are there in the online curriculum for the Professional Certificate Programme in Digital Marketing?
Ans: The syllabus for the course lists three quarters.

3. Are loans available to students without a credit card?
Ans: Yes, loans can be given out without having a credit card.

4: Does NMIMS work with any employment companies?
Ans: Yes, NMIMS has business partners who employ accomplished students.

Disclaimer: This content was authored by the content team of ET Spotlight team. The news and editorial staff of ET had no role in the creation of this article.

Tens of Millions of Ink Dots Fill Xavier Casalta’s Remarkably Detailed Stipple Illustrations

Tens of Millions of Ink Dots Fill Xavier Casalta’s Remarkably Detailed Stipple Illustrations

“Marcus Aurelius” (2021-22), stippled black ink, 140 x 100 centimeters. All images © Xavier Casalta, shared with permission

It took Xavier Casalta a phenomenal 2,300 hours over the course of 15 months to complete his largest work to date. Featuring numerous blooms surrounding a marble bust of Marcus Aurelius—one of ancient Rome’s most celebrated emperors and philosophers—the artist (previously) estimates that the illustration contains about 48 million dots of meticulously stippled black ink.

Known for his remarkably detailed depictions of flowers, architecture, and antiquities, Casalta applies China ink to paper one speck at a time. Densely clustered areas produce darker features that contrast more minimally inked highlights. He often depicts individual historical objects, like a Penny Black stamp or impressions of people and animals on early coins. He also fills entire sheets of paper with florals or geometry, like an intricate Roman mosaic or his Four Seasons series, created in collaboration with florist Swallows & Damsons.

Casalta is currently working a new, large-scale architectural piece–he’s spent 1,200 hours on it so far–which he plans to reveal in October. In 2024, that work will also become available as a limited-edition print. You can stay tuned to the artist’s Instagram for updates, and find more information on his website.


Two images of stippled ink drawings. The left image shows a Roman coin, and the right images shows a Black Penny stamp.

Left: Naxos Tetradrachm with Dionysus. Right: Penny Black stamp

A stippled ink drawing of numerous summertime flowers.

“Summer,” part of ‘Four Seasons’ in collaboration with Swallows & Damsons, stippled black ink, 56 x 56 centimeters

A stippled ink drawing of an ancient coin.

Tetradrachm featuring a lion’s head from Cyzicus, Mysia

A stippled ink drawing of numerous winter flowers and plants.

“Winter,” part of ‘Four Seasons’ in collaboration with Swallows & Damsons, stippled black ink, 56 x 56 centimeters

A detail of a stippled ink drawing of wintertime plants and flowers.

Detail of “Winter”

A stippled ink drawing of detailed flowers.

Detail of “Marcus Aurelius” in progress

A stippled ink drawing of a Roman mosaic in progress.

Detail of a mosaic in progress

A stippled ink drawing in progress of a classical facade.

Detail of a work in progress

Do stories and artists like this matter to you? Become a Colossal Member today and support independent arts publishing for as little as $5 per month. The article Tens of Millions of Ink Dots Fill Xavier Casalta’s Remarkably Detailed Stipple Illustrations appeared first on Colossal.

Wedding photographer hits out at ‘tone-deaf’ request from bride after Maui fires

Wedding photographer hits out at ‘tone-deaf’ request from bride after Maui fires

A wedding videographer has criticised brides for worrying about their big days and asking for refunds amid relief efforts for the Maui wildfires.

Shayna Kiesler couldn’t believe how many requests she’d received from individuals looking to get their non-refundable deposits back from her company, Portola Wedding Films in Maui, because they would no longer be able to host their nuptials on the island. The community is being forced to not only deal with the loss of loved ones, landmarks, homes, businesses, and crops, but as she noted, brides-to-be are also worried about their personal fortunes too.

According to Hawaii Governor Josh Green, as of 16 August, more than 110 lives have been lost due to the devastating and unexpected fires that engulfed Lahaina last week. Governor Green also speculated that there are “probably still over 1,000” unaccounted for.

Kiesler’s sister, Reyna Edmonds, posted a TikTok on 14 August urging brides to stop making these monetary demands, as she noted conditions on the island are “horrific”. The Seattle-based wedding photographer attempted to appeal to the frustrated individuals, while also opening their eyes to the realities of Maui residents right now.

“While I realise to brides this is the most important day of their life, it is extremely tone-deaf for what is going on on the island of Maui,” she said. “Please be patient, please give them their time that they need to figure out what is going on, and only reach out if you’re actually willing to help.”

Edmonds also spoke to People, where she suggested that tourists don’t seem to have “empathy” for individuals like her sister. “From a vendor’s perspective, it’s frustrating. These people have no empathy for what the island is going through and what these [wedding] vendors are going through,” she proclaimed. “Like, yeah, my sister didn’t lose her home, but she knows people who have and her friends still have family that are missing.”

She continued: “I think that… everyone wants their beautiful wedding day, and [brides] can sometimes be a little bit selfish without realising they are and in this case, I felt like it was really happening and I just felt like I needed to say something on behalf of my sister.”

To assist struggling wedding vendors on the island, Edmonds is connecting them with other photographers and planners willing to service their customers for free so that the money they’ve paid to Maui business owners can stay with them.

“Obviously, I couldn’t imagine planning your dream wedding and then having this happen but I think that like everyone just needs to have a little bit of empathy,” Edmonds confessed.

In her video caption, she asked interested viewers to visit her website if they would like to donate, need help with their own wedding, or can provide services for those who do.

The Independent hascontacted Edmonds to request comment from her and her sister.

Milky Way Photography: How to Take a Picture of our Galaxy

Milky Way Photography: How to Take a Picture of our Galaxy

Photographing the Milky Way no longer represents a technical challenge to be met only by professionals. Thanks to technological advances in cameras and lenses, taking a beautiful photo of the night sky is within anyone’s reach.

There are just a few important rules to follow to get great pictures of our galaxy: pick the right season when the Milky Way is best visible, get the necessary equipment, and find the best settings: exposure time, focus, etc. Being prepared is key to setting up your shot.

© Greg Rakozy / Unsplash
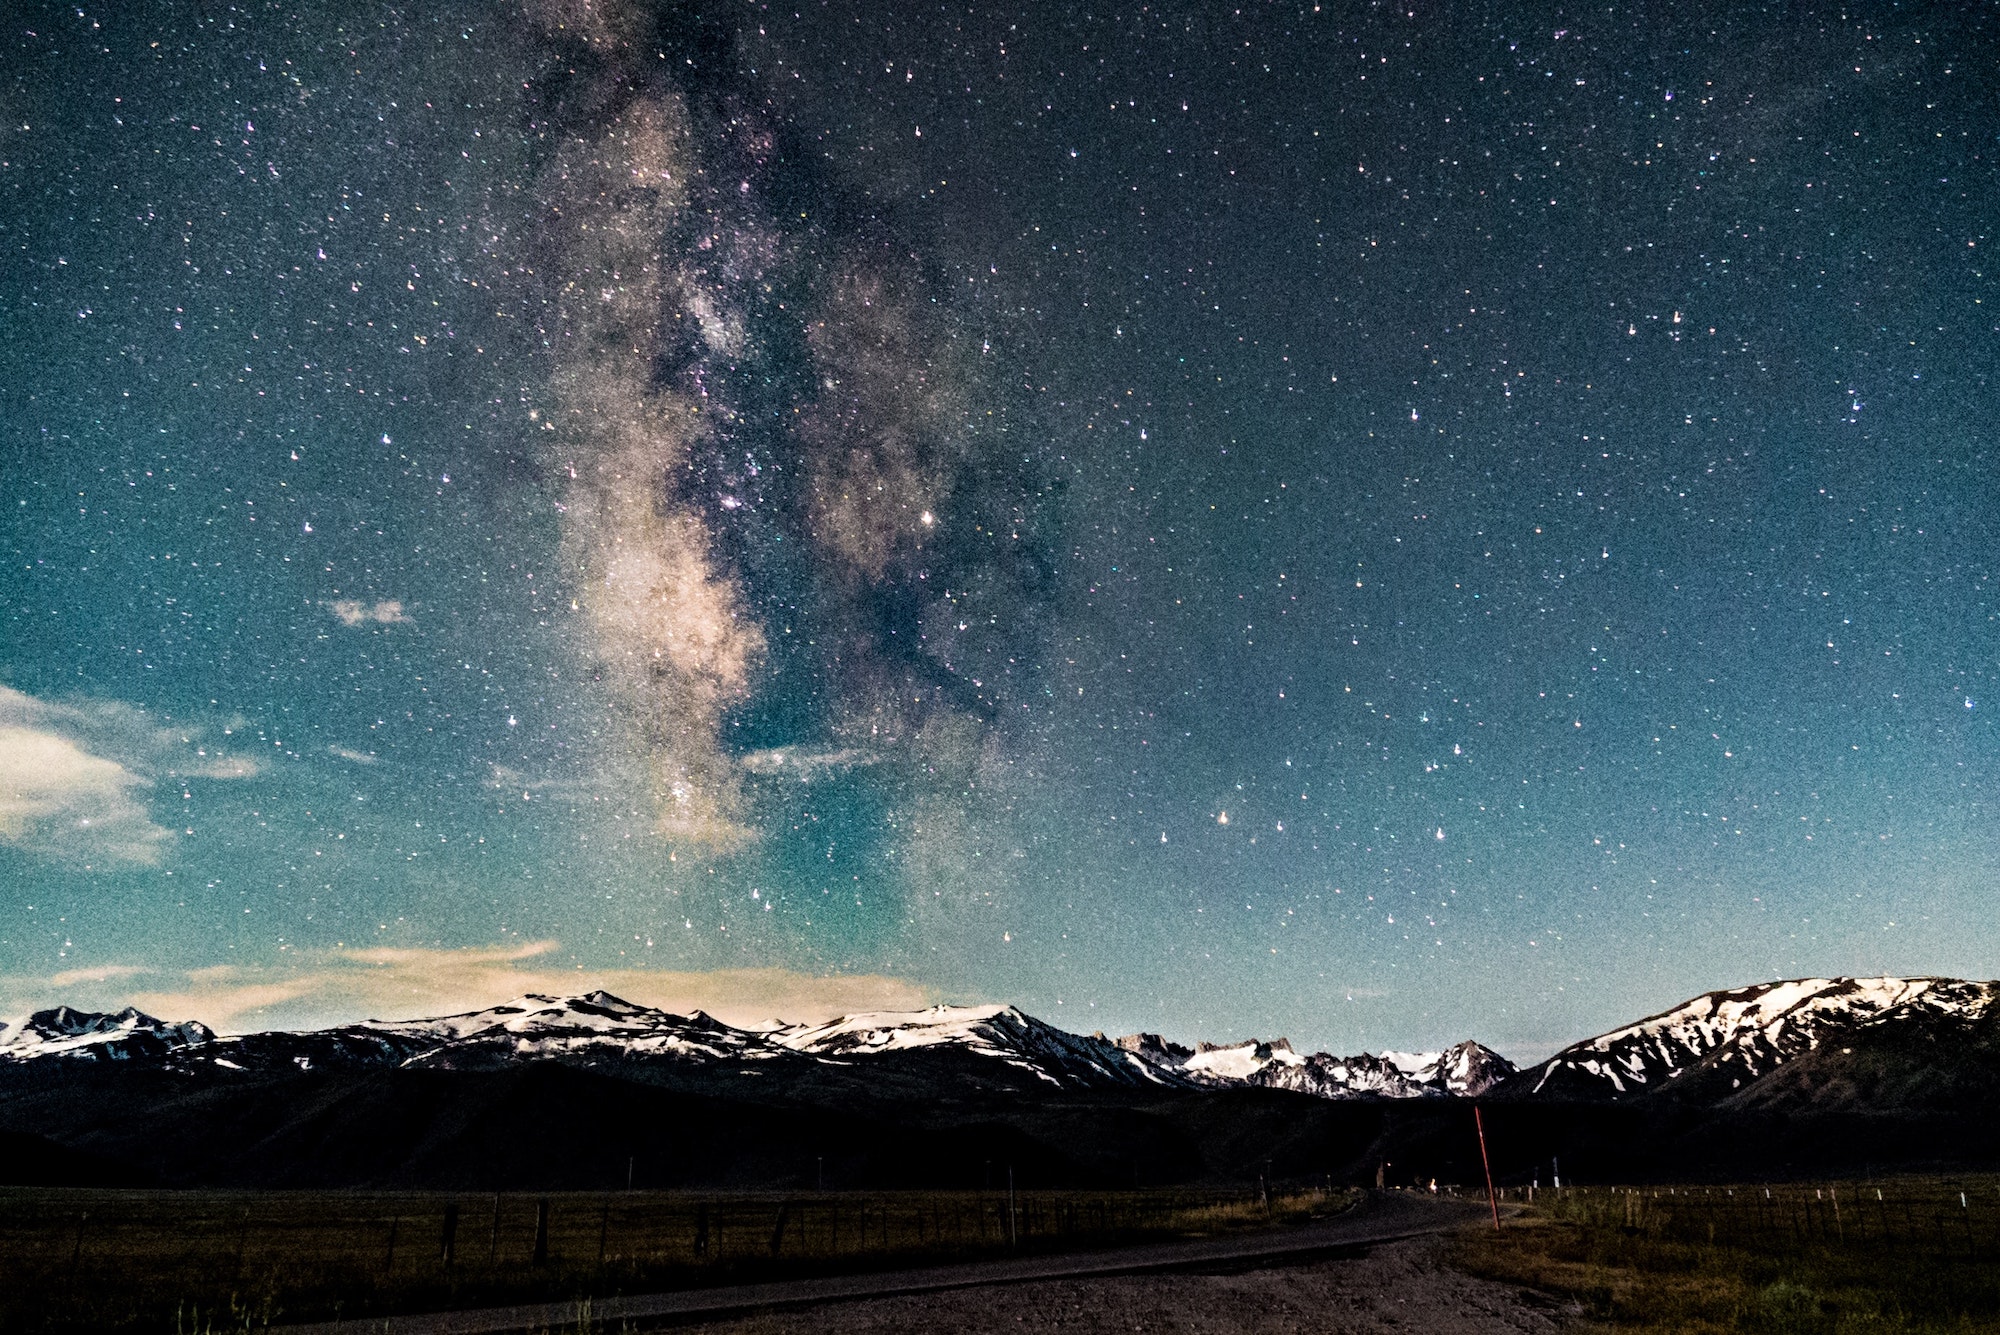
This Milky Way photo is among the most beautiful landscape shots © Greg Rakozy / Unsplash Taken with a Canon EOS 5D Mark II: 50.0 mm, ISO 2500, 25s at Tony Grove Lake in Utah

What does it mean to photograph the Milky Way?

Even before you start planning your Milky Way shooting trip or figuring out the right settings, it is important to define what we mean by photographing our galaxy. When we talk about photographing the Milky Way, we are actually talking about its core, the galactic center, its brightest part. It is this region that is the most densely populated with stars, clusters, and colorful nebulas.

When best to photograph the Milky Way?

In the Northern Hemisphere, the best time to photograph the Milky Way is from April to September. In the Southern Hemisphere, this period is from February to October. The summer months (June, July, August) offer the best conditions for taking pictures of the Milky Way.

Although our galaxy can be observed all year round, to get the most detail, you should plan your Milky Way photo trip during those high-visibility months.

On the day of shooting, the best time to start your photo shoot is usually between midnight and 5 a.m., when the Milky Way will be positioned the highest above the horizon. However, always remember to locate its position in advance, since depending on the time of year, it may only be visible for a few minutes, and sometimes not at all.

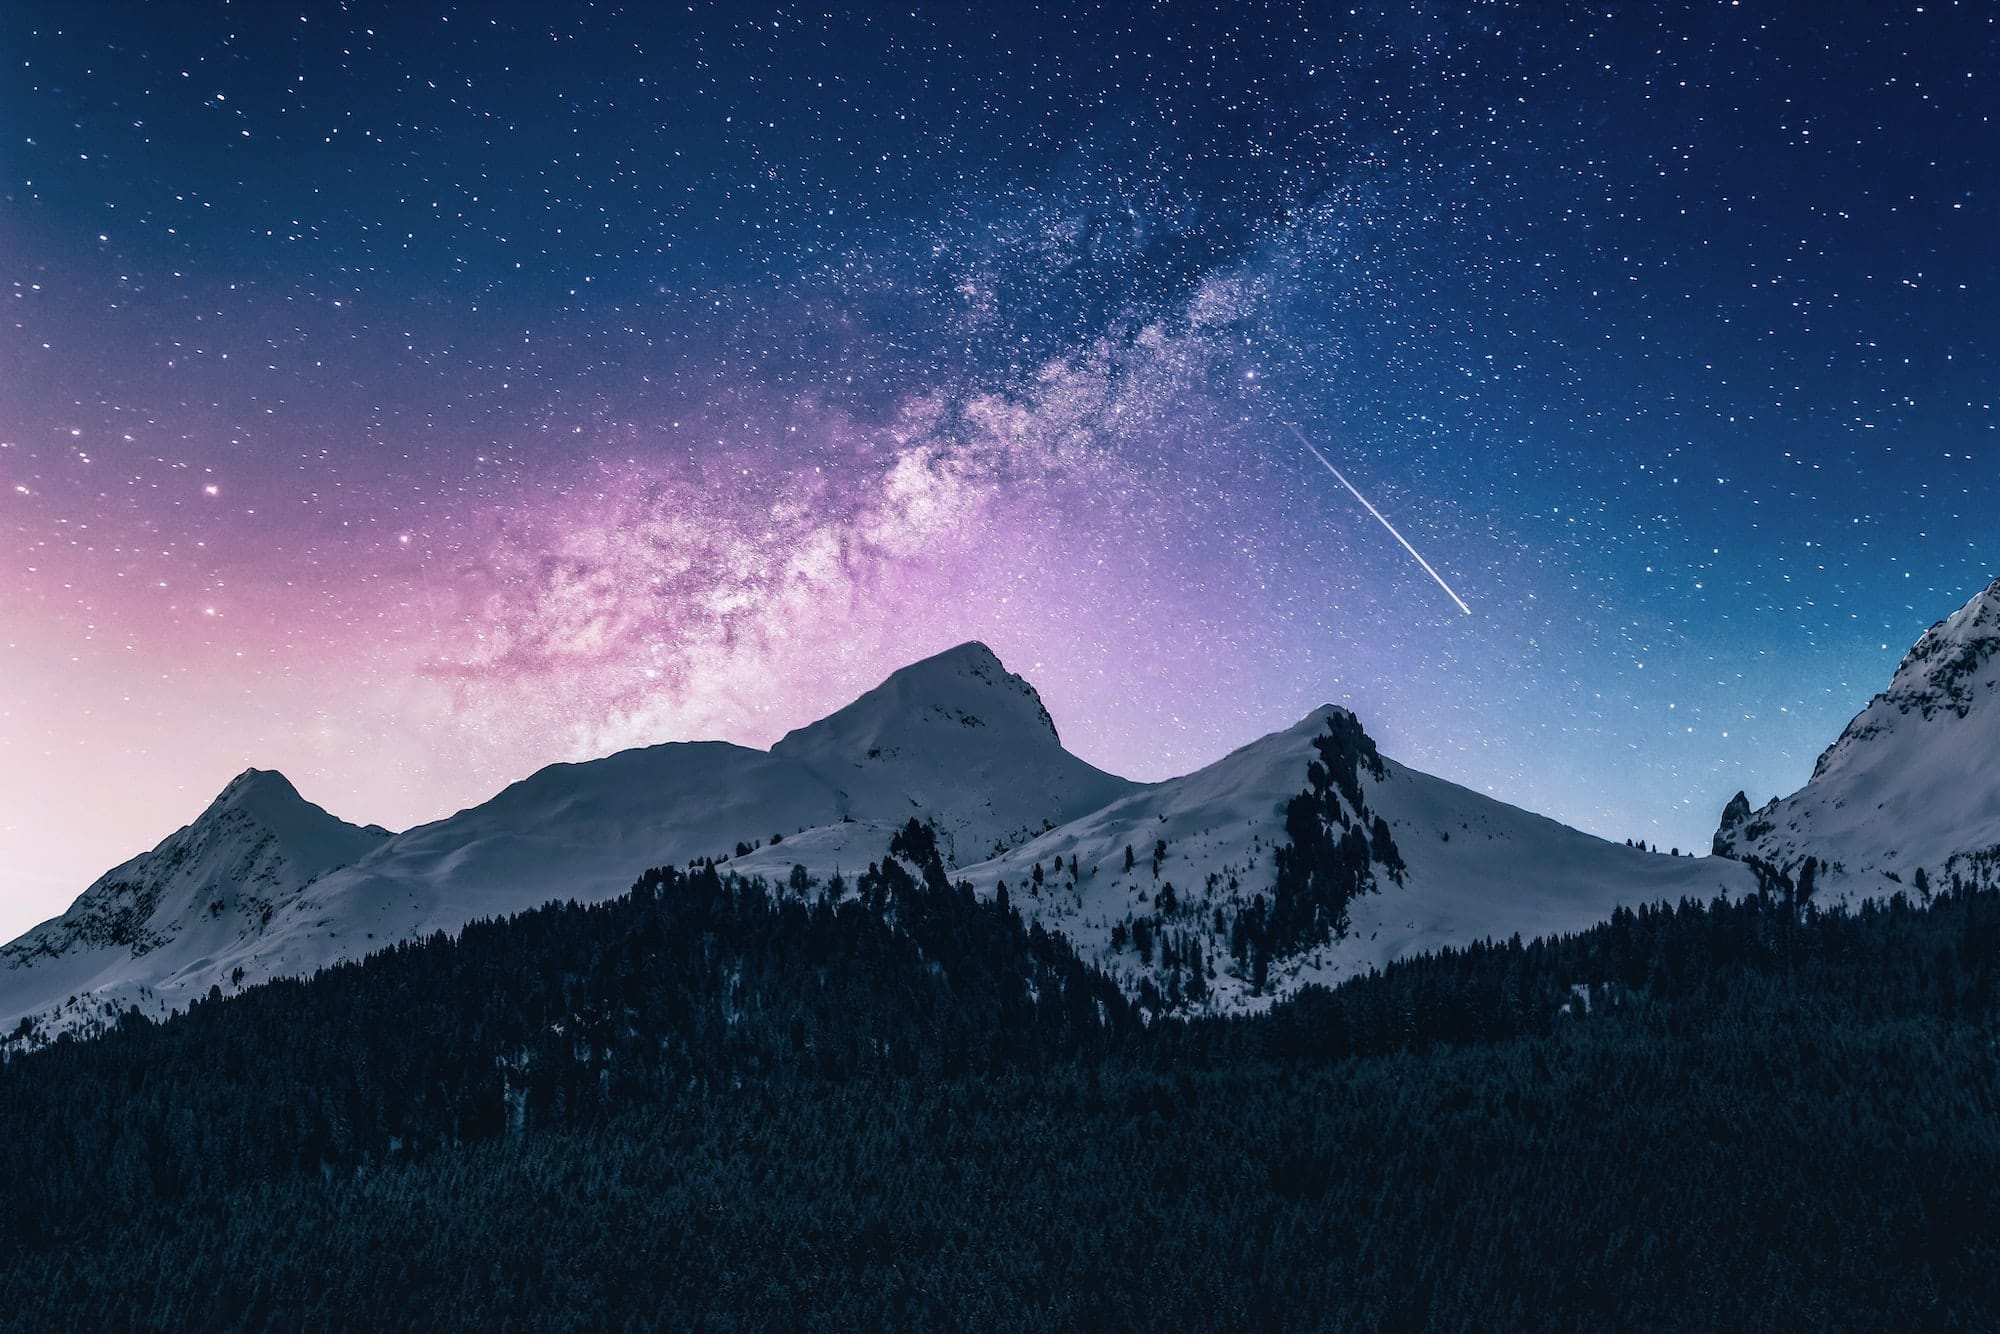
Depending on its position, you will be able to photograph the Milky Way for several hours or several minutes © Eberhard Grossgasteiger / Pexels
Depending on its position, you will be able to photograph the Milky Way for several hours or several minutes
© Eberhard Grossgasteiger / Pexels

Where to photograph the Milky Way?

In France, the best places to take pictures of the Milky Way are at higher elevations, especially in the mountains, such as in the Clarée River Valley or the Massif des Écrins, in the Alpes. However, places like the south of Brittany or sparsely populated rural areas also offer favorable conditions for photographing the Milky Way.

Worldwide, there are plenty of choice photo locations, very popular among astrophotographers, such as the Dolomites in Italy, the Banff National Park in Alberta, Canada, and the Atacama Desert in Chile.

What are the best conditions to take pictures of the Milky Way?

The ideal conditions to take a picture of the Milky Way are clear atmospheric conditions. This means a cloudless sky and absence of wind, humidity, and light pollution (streetlights, searchlights, etc.).

While the location of your Milky Way photo shoot is important, the absence of light pollution in the area is crucial. To get a great photo, you must avoid at all costs cities and sites with intense lighting. When shooting near a light source, take into account its direction. Try to pick open spaces away from populated areas.

You need also to pay attention to the Moon. Moonlight might overwhelm the Milky Way and make its details less visible. You should therefore schedule your photo outing on a dark night, during New Moon or First or Last Quarter.

While a clear sky is ideal for your Milky Way photos, the presence of the Moon, wind, partial cloud cover, or some light pollution might give you a chance to generate interesting effects and create an original photo.

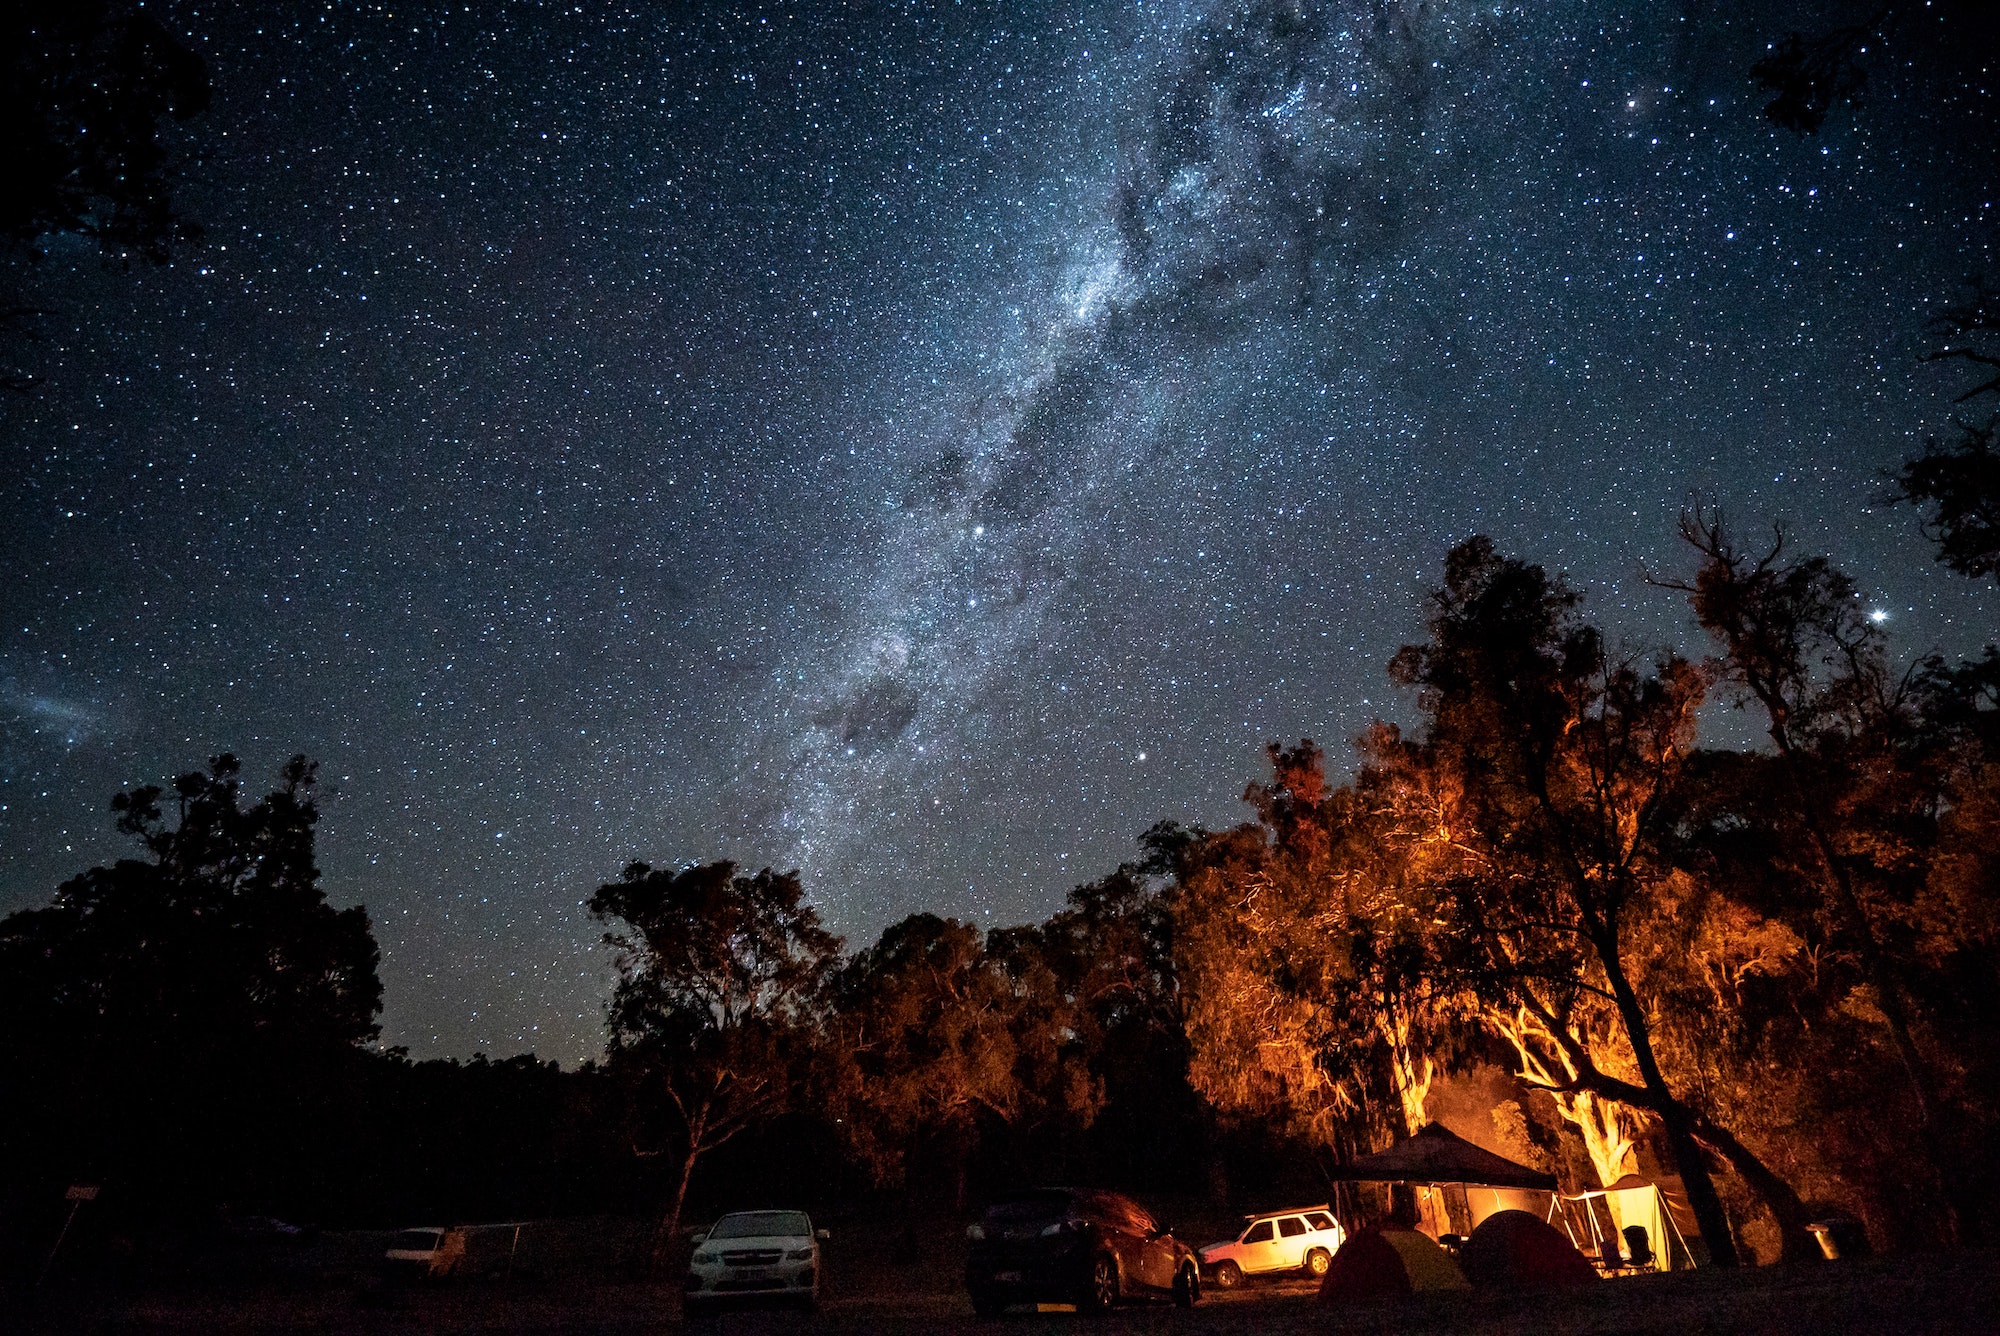
The presence of light can make for an original Milky Way photo © Pixabay - Pexels Taken with a Canon EOS 5D Mark II: 20.0 mm, ƒ/2.2, 25.1s and ISO 2500
The presence of light can make for an original Milky Way photo © Pixabay – Pexels Taken with a Canon EOS 5D Mark II: 20.0 mm, ƒ/2.2, 25.1s and ISO 2500

What equipment to use?

Although taking a photo of the Milky Way has become easier than it used to be, there are still a few pieces of equipment essential to your success*.

The camera

You don’t need a professional camera to photograph the Milky Way: nowadays, most SLR cameras can capture great images, as can a number of smartphones.

Whatever camera you decide to work with, you should make sure that it has a manual mode, which will be key to setting up your camera and capturing the Milky Way. The manual mode will allow you to adjust ISO sensitivity and exposure time.

Lenses

We recommend that you use the brightest lens possible; in other words, a lens with a large aperture which will capture maximum light. At the same time, use a wide-angle lens (focal length less than 50 mm) to capture the entire Milky Way visible and the surrounding landscape. 

Most conventional lenses, however, can still take good pictures, whether it is a wide-angle lens or a standard kit, such as an 18–55 mm or even an 18–135 mm lens. The difference in rendering will be in the angle of the field: whether it is a general view, a panorama, an image of the very core, a focus on the detail, etc.

The tripod is a key accessory in capturing the Milky Way Credit: PhotoMIX Company / Unsplash
The tripod is a key accessory in capturing the Milky Way
© PhotoMIX Company / Unsplash

You can switch between different lenses to vary the rendering of the Milky Way. Make only sure to adjust the other settings on your camera along with the lens.

Whatever your choice of lenses, be careful not to choose a lens with a focal length that is too large (greater than 135 mm), because, due to the Earth’s rotation, the stars can quickly grow oval and out of focus, which might spoil your Milky Way photo.

Accesories

For best results, we recommend you bring a long a few accessories:

A tripod: an essential accessory for capturing the Milky Way, and landscapes in general. To ensure a clear picture and get all the details, the camera must be perfectly steady. Stability also allows your camera to get the maximum amount of light.

• If you want to get a panoramic or a time-lapse shot, bring a panoramic rotator or an intervalometer.

A wireless remote control will allow you to set up and trigger your camera or smartphone from a distance.

A headlamp with red light will help you to find your way around at night, adjust your camera settings, illuminate foreground elements, and focus.

• Bring spare batteries and memory cards, and store them in a dry place.

• Bring warm clothes to stay warm at night, even in summer, especially if you’re photographing in the mountains.

Milky Way photo settings

There are many settings to adjust before you can take your first Milky Way photo: aperture, ISO, shutter speed, etc. Before you launch into any setting, first take the time to familiarize yourself with them and do some testing to see what works best in terms of your equipment and your project.

A photo of the Milky Way taken at ƒ/4. Credit: Alistair MacKenzie / Unsplash Taken with a Sony ILCE-7S: 16.0 mm, ƒ/4.00, 16s, ISO 6400 in Megalong Valley, Australia
A photo of the Milky Way taken at ƒ/4.
© Alistair MacKenzie / Unsplash
Taken with a Sony ILCE-7S: 16.0 mm, ƒ/4.00, 16s, ISO 6400 in Megalong Valley, Australia

The manual mode

The first thing you to do is to switch your camera from automatic to manual mode. Once in manual mode, you can go ahead and set all the other settings.

The RAW format

RAW is an uncompressed image format that preserves all the details of the scene and will facilitate processing your Milky Way photos later. By contrast, a photo in the basic JPEG format loses detail and limits post-production.

If you want to have a choice between the two formats, either for processing or printing, you can save your images in RAW + JPEG format.

Aperture

The aperture controls the amount of light that enters the lens of your camera. Aperture is expressed as the value of ƒ/N, where “ƒ” represents the focal length and “N” the width of the aperture.

Since the Milky Way is not very bright, the camera needs to absorb the maximum of light. Thus, your aperture should be as open as possible, which translates into the smallest possible f/N aperture value. The recommended value is usually between ƒ/1.8 and ƒ/3.5 (or even ƒ/4), to allow you to capture most of the stars and other details of the night sky.

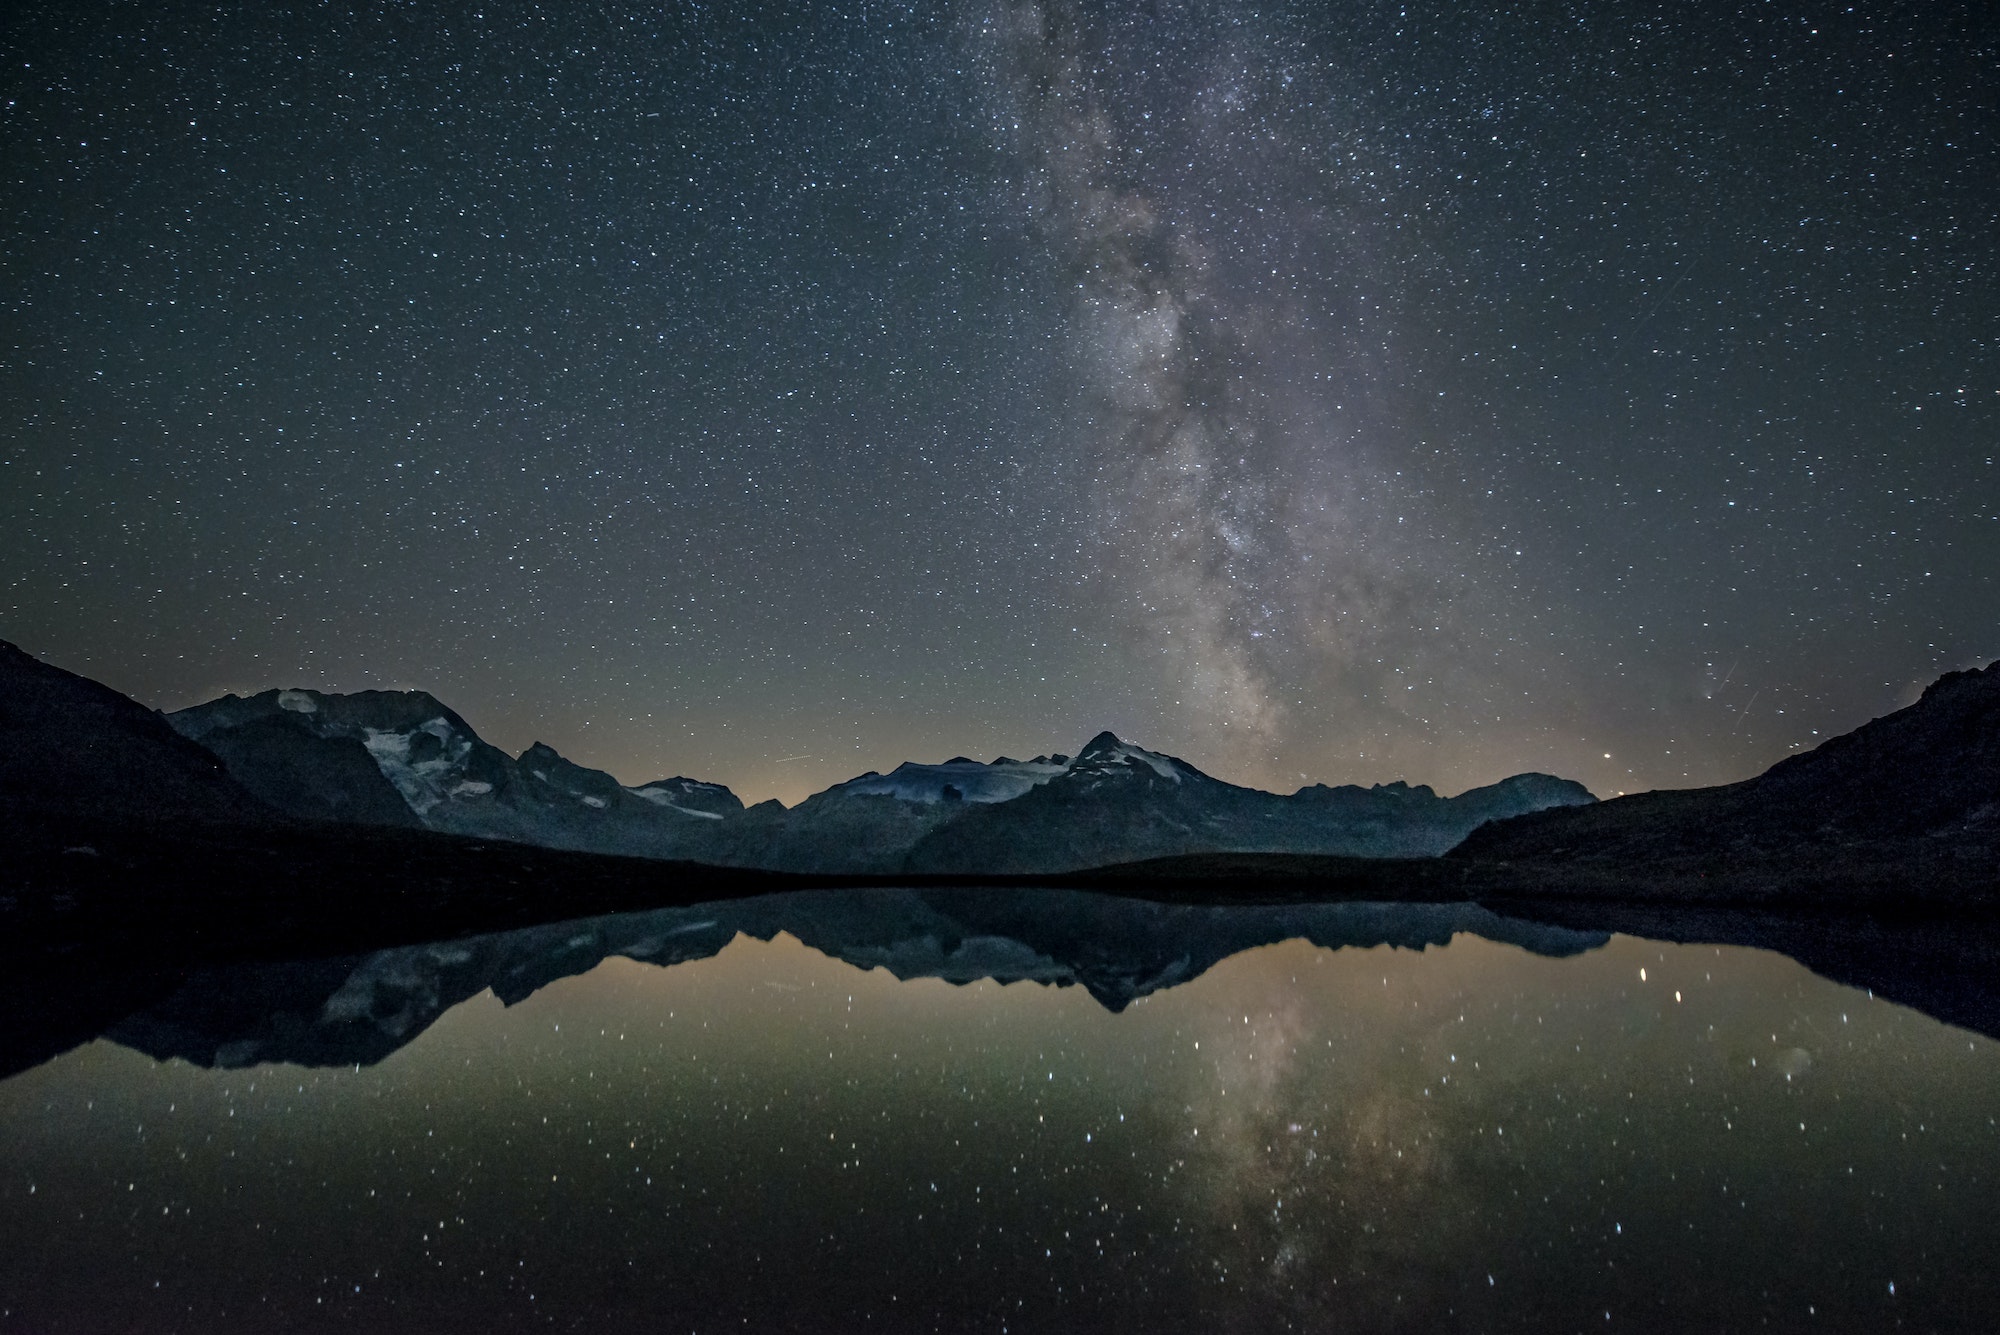
A mountain lake provides a beautiful foreground for a Milky Way photo © Eberhard Grossgasteiger / Unsplash Taken with a Canon EOS 70D: 14.0 mm, ƒ/2.8, 20sec, ISO 800 in the Zillertal Alps in Italy

ISO sensitivity

ISO sensitivity refers to a setting that, like the aperture, controls the amount of light captured by your camera. Depending on the sensitivity you choose, your photo will be more, or less, bright and detailed. When photographing the Milky Way, you should choose a higher ISO to increase light sensitivity and compensate for the low brightness of the stars.

However, the higher the ISO the more sensitive the sensor is to light, and the quality of the image may degrade with the appearance of “digital noise” (grainy picture). On the other hand, if the ISO is too low, the sky and stars will be underexposed, making the Milky Way pale and poorly visible.

As a general rule, choose a sensitivity between ISO 1600 and 3200, which will allow you to capture just enough light, without losing quality or picking up noise. This is, for example, the ideal setting if you have a 24mm focal length with an aperture of f/1.4. 

If you have a smaller aperture, such as f/2.0 or f/2.8, you can gradually increase the sensitivity beyond ISO 3200, watching out for digital noise. Also, if there are any sources of light in the vicinity (street lights, the moon, etc.), consider adjusting your ISO so as not to accentuate these other external light sources and lose sharpness.

Shutter speed and exposure

To let the maximum amount of light into the camera’s sensor and make the Milky Way appear bright in your photo, in addition to the ISO and the aperture, you need to set the exposure time. The longer the exposure, the more light the camera will capture.

An exposure can last between 5 and 30 seconds, depending on your focal length. The higher your focal length, the shorter the exposure time should be.

Although a long exposure is best for capturing the Milky Way, keep in mind that an overly long exposure will result in the appearance of light trails and blurry, oval stars, due to the Earth’s rotation around its axis. For example, with a standard 18 mm lens, this phenomenon can be visible already at a 20-second exposure.

To find the right shutter speed to photograph the Milky Way, use the 500 rule, a formula for calculating the exposure time depending on the focal length: 500 ÷ focal length = exposure time. For ease of calculation, round off the result. 

The formula will vary depending on whether you use a full-frame sensor (24×36 mm), or an APS-C Nikon or Canon sensor (respectively 1.5 and 1.6 times smaller than the full-frame sensor). In this case, the calculation will be: 500 ÷ (focal length x 1.5 or 1.6) = exposure time.

Avoid excessive shutter speed when photographing the Milky Way © Brendan Miranda / Unsplash Taken with a Sony ILCE-7SM2: 18.0 mm, ƒ/3.5 – 10sec, ISO 3200
Avoid excessive shutter speed when photographing the Milky Way
© Brendan Miranda / Unsplash
Taken with a Sony ILCE-7SM2: 18.0 mm, ƒ/3.5 – 10sec, ISO 3200

For example, for a focal length of 16 mm with a full-frame sensor, the exposure time to take a picture of the Milky Way should be 500 ÷ 16 = 31.25 seconds. With a Nikon APS-C sensor, the exposure time would be 500 ÷ (16 x 1.5) = 24 seconds. With a Canon APS-C sensor, the exposure time would be 500 ÷ (16 x 1.6) = 19.5 seconds.

However, the 500 rule is not perfect. To take the example of 16mm focal length with a full-frame sensor, a 31-second exposure would carry a high risk of star trails and a blurred Milky Way. Depending on your equipment and your project, you can calculate your exposure time by taking a base of 300, 400, or 600.

Whatever you do, to ensure the optimal shutter speed, take a picture of the night sky and see if the stars are points or ovals. In the latter case, shorten the exposure time.

Getting ready for your photo trip

Knowing how to photograph the Milky Way requires preparation ahead of time © Yuting Gao / Pexelss Photo 24.0 mm – ƒ/1.4 – ISO 1600 in Elkton, Maryland, US
Knowing how to photograph the Milky Way requires preparation ahead of time
© Yuting Gao / Pexelss
Photo 24.0 mm – ƒ/1.4 – ISO 1600 in Elkton, Maryland, US

Now that you know how to set up your Milky Way shots, it’s time to get ready for your trip.

Planning around the weather conditions

To best capture the Milky Way, you need to find the dates of ideal visibility and pick a night when the sky will be clear and free of light pollution and moonlight.

There are many tools and apps that will help you find the best dates to photograph the Milky Way, including its position and visibility in the sky, moonrise and moonset times, and weather conditions: 

The position and trajectory of the Milky Way: Photopills (iOS and Android), Stellarium (iOS and Android), Night Sky (iOS), Sky Guide (iOS), Google Sky

Light pollution: Light Pollution Map; Dark Sky Finder (US and Canada)

Moon phases: Lunar calendar (enter your precise location)

Weather: Wunderground, Carrot Weather

Cloud cover: Windy, Windfinder

Cross-reference multiple data sources to make sure your calculations are right and find the optimal conditions.

Scout out your locations and preset your shots

Now that you have picked your perfect location and found the date for your Milky Way photo shoot, go out and do some scouting ahead of time. Find your ideal placement and work out your angles of view, keeping in mind the position of stars on the day of shooting.  

Once you have found your bearings, frame your shot. While any photo of the Milky Way can be beautiful, putting some work into your composition will pay off. Decide between the portrait and landscape modes, highlight foreground or background elements, etc.

Mountains, dunes, a forest clearing, a beach, a reflecting lake, old buildings, etc.: interesting foreground elements can make for elegant Milky Way photos. To highlight these features, and to help you focus, you can illuminate them with a headlamp, with your phone, or even an LED panel.

Perform composition and framing tests ahead of time on the day of the shooting to find your optimal settings.

The finishing touches

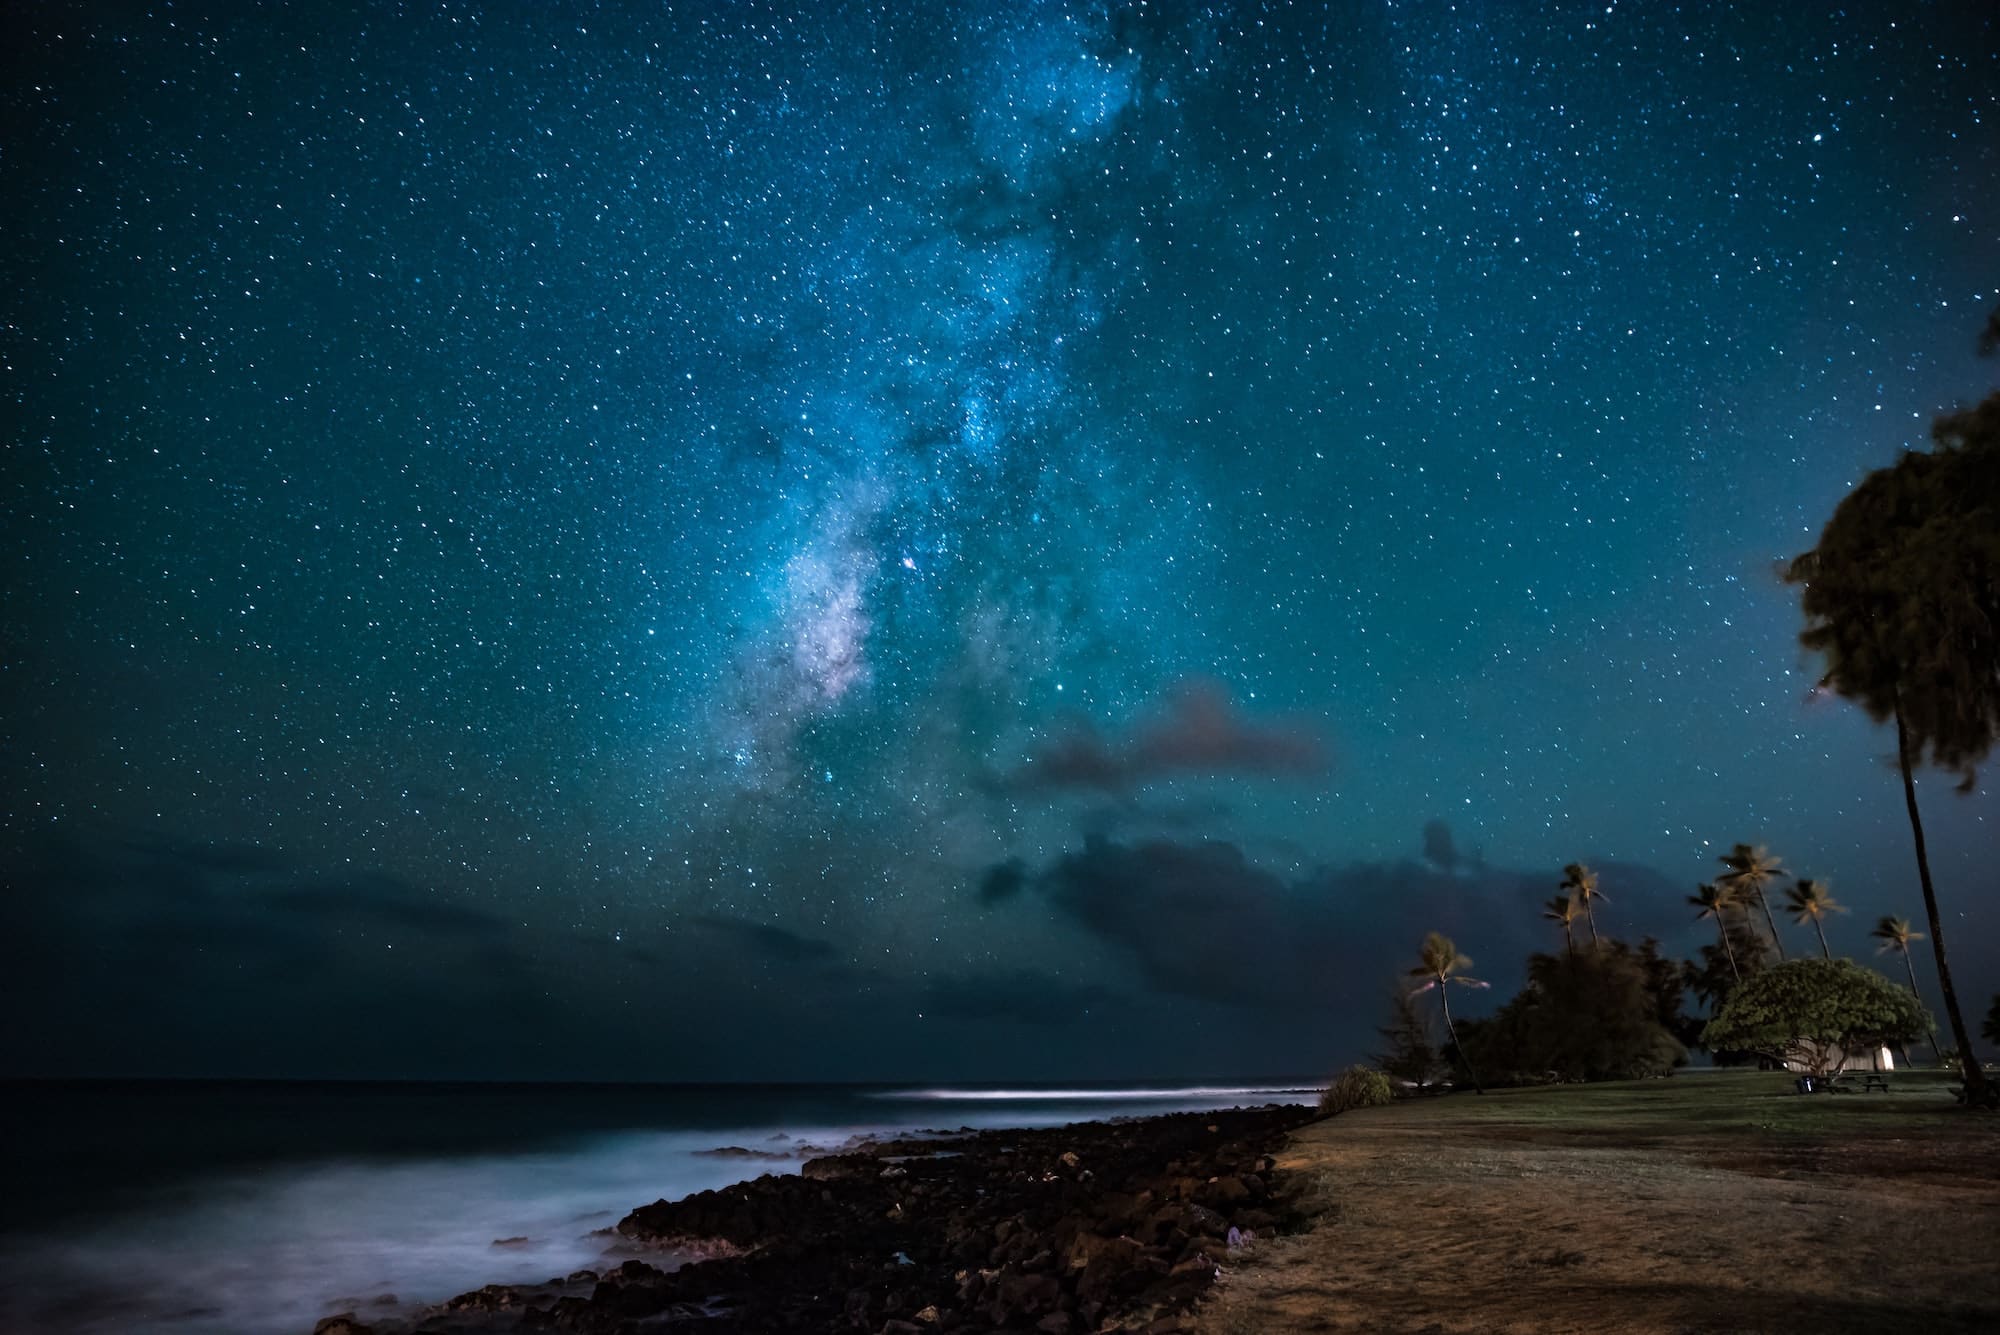
Finding an interesting foreground element enhances the Milky Way photo © Casey Horner / Unsplash Taken with a Nikon D750: 24.0mm, ƒ/2.8, 25sec, ISO 3200 in Kauai County, Hawaii

Now that the day of the shoot has arrived, try to get to your location by day, during the golden hour, to set everything up and make any final adjustments: your placement, framing, composition, aperture, etc.

Arriving before nightfall will allows you to prepare your photos with greater precision and leave more time for taking pictures of the Milky Way. Early preparation will also make sure you don’t disturb other photographers who might be working in the vicinity. 

When you’re all set, start testing: your maximum ISO, exposure times, aperture settings, etc. until you’re confident and ready.

Focusing 

Manual focus is the final setting before the shoot: make sure the Milky way is going to be in focus and avoid blurry stars. There are two types of focus for astrophotography:

  • Infinity focus

Infinity focus is a hyperfocal distance setting available on a number of camera models. It is represented by the symbol ∞ on the focus ring. It allows you to obtain sharp images with a better depth of field. 

Note, however, that this “infinity” focus may not be the ideal setting for photographing the Milky Way. Depending on your project, it may be better to use manual focus, especially if you’re aiming to take less conventional pictures.

A picture of the Milky Way is a photographer’s dream © Benjamin Voros / Unsplash Taken with a Canon EOS 600D: 84.0 mm, ƒ/5.0, 1/200s, ISO 100 in Moena, Italy
  • Manual focus

As an alternative to infinity focus you can focus using your camera’s or phone’s Live View. Use your screen to focus on the brightest star, or the one automatically selected by your camera, and center on it. This might be Vega in summer and Sirius in winter. 

Zoom in on that star using the Live View magnifier and adjust the focus using the focusing ring until the star is as small as possible and the entire scene is in focus. Then test to see how sharp your image is and adjust accordingly. Once you’ve found the right setting, turn off Live View and don’t touch your focusing ring again.

Enjoy the show

Once you’ve made your final adjustments, use your remote shutter release or a self-timer to start taking pictures of the Milky Way. And don’t forget to enjoy the starlit spectacle in front of you

Once you have the Milky Way photo you were looking for, you can take shots with different settings to get different results.

Processing your Milky Way photos

To make the most of your Milky Way photos, you might want to retouch and rework them using editing software (Lightroom, Photoshop, etc.). While post processing is not a requirement, it can allow you to correct some defects, enhance the colors, or create original creative montages (by collaging several photos).

In a nutshell, processing a Milky Way photo means:

• Adjusting contrast

• Adjusting brightness

• Adjusting white balance and color saturation

• Eliminating unwelcome artifacts

• Reducing digital noise

Go ahead and play with these options to get great Milky Way photos. For best results, remember to edit your photos in RAW format.

You have now mastered the basic rules of astrophotography. If everything isn’t perfect at your first attempt, don’t get discouraged: the important thing is to practice and experiment until you’re confident and able to anticipate the results. With the right settings and preparation, you will create a stunning Milky Way photo.

*True to its eco-responsible philosophy, MPB website offers its expertise to help you make the best choice in used cameras, while providing a safe platform for buying, selling, and trading photo equipment.

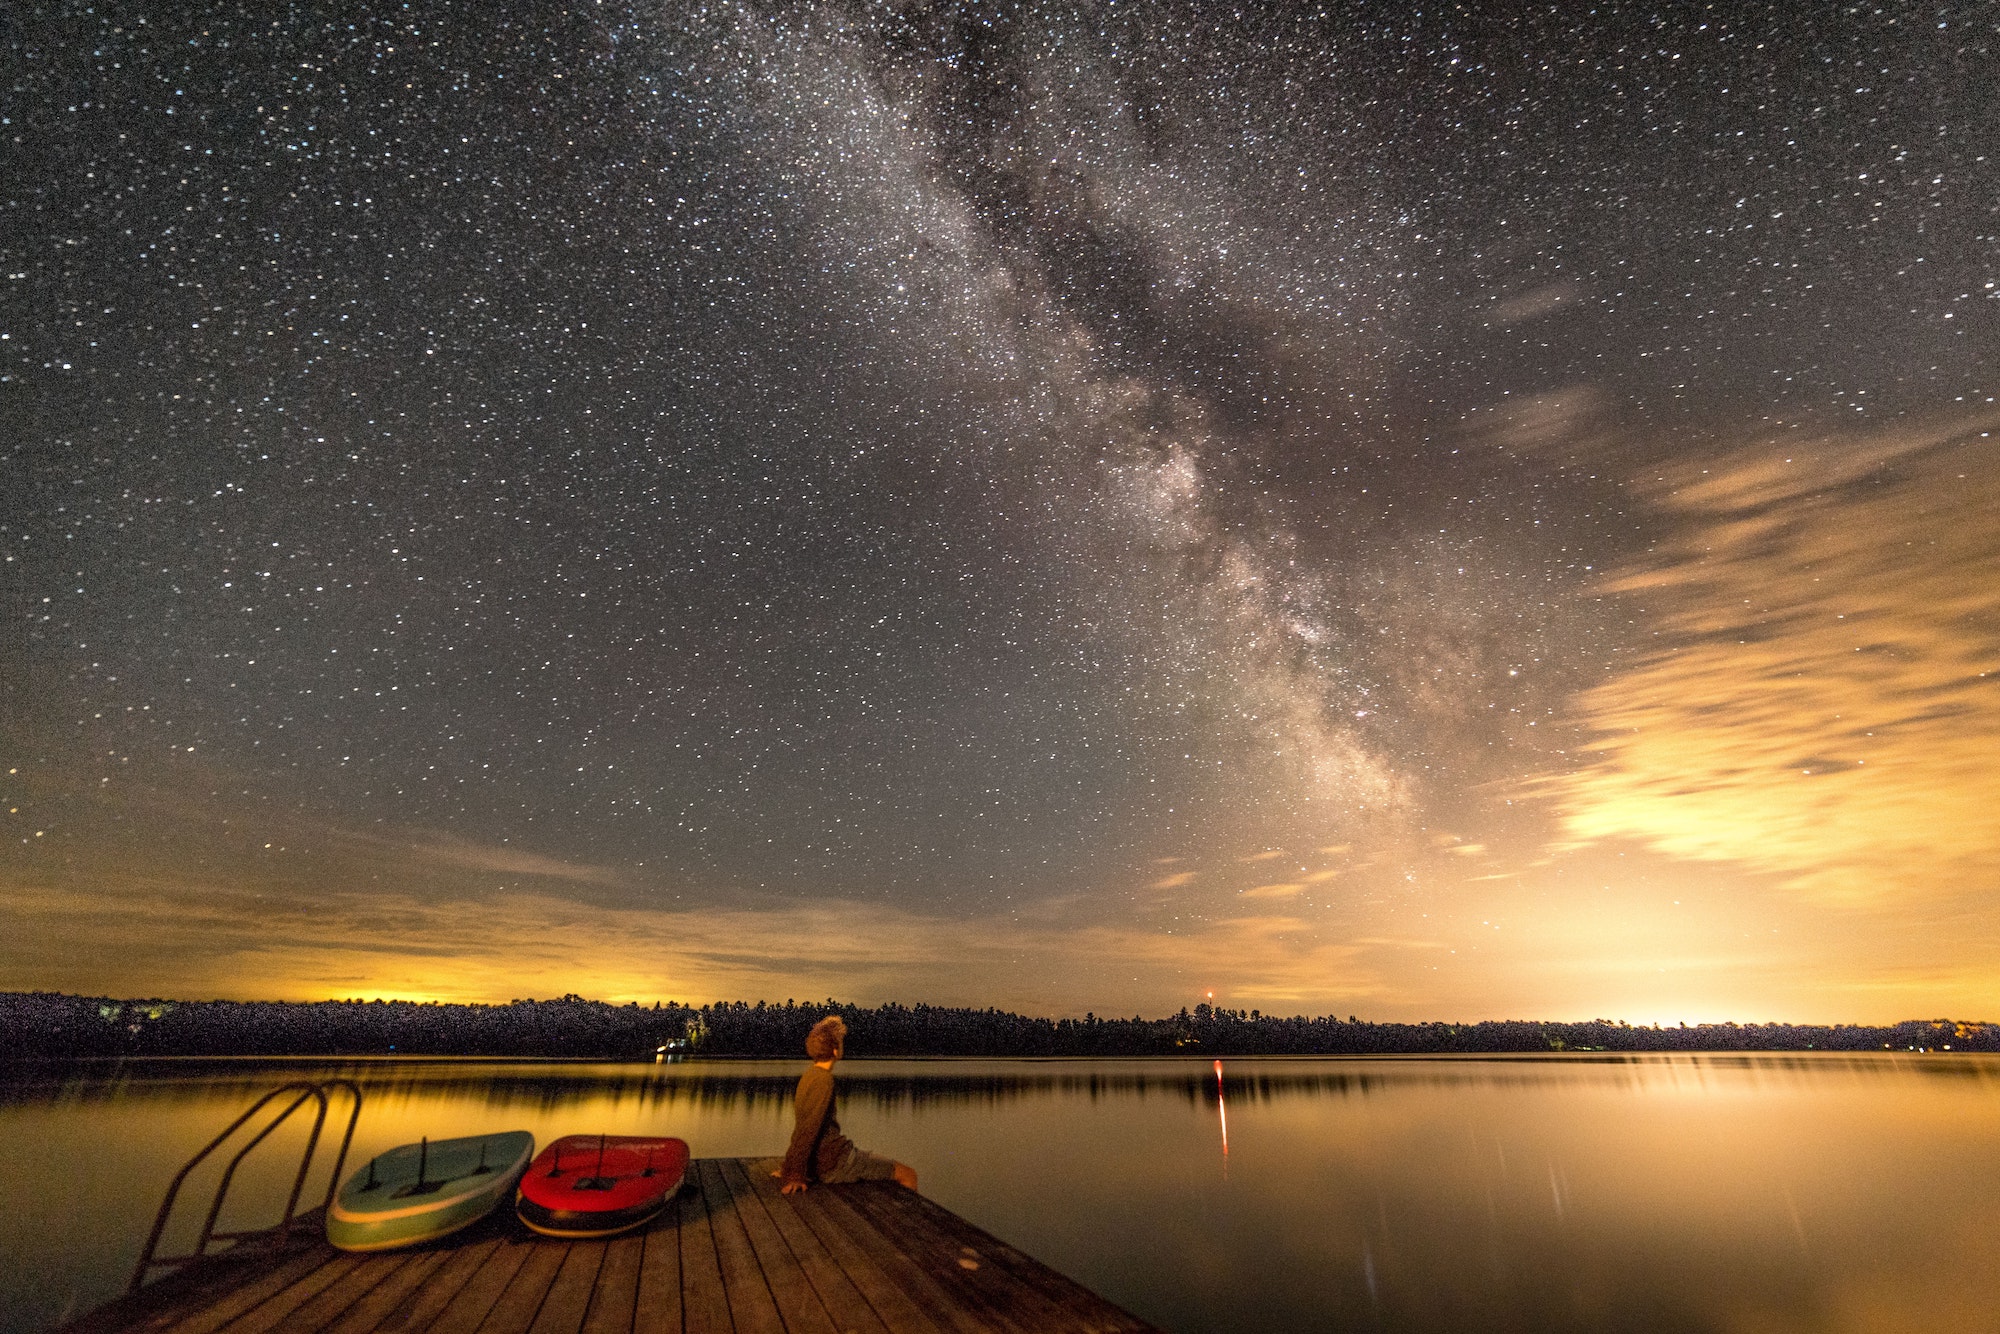
Processing the Milky Way photo can go a long way Credit: Ethan Richardson / Unsplash Taken with a Sony ILCE-7RM2: 30s, ISO 3200 at Big Cedar Lake, Ontario, Canada.
Processing the Milky Way photo can go a long way
© Ethan Richardson / Unsplash
Taken with a Sony ILCE-7RM2: 30s, ISO 3200 at Big Cedar Lake, Ontario, Canada.