Chasing Totality: I learned these lessons learned for photographing a solar eclipse so you don’t have to

Chasing Totality: I learned these lessons learned for photographing a solar eclipse so you don’t have to
Chasing Totality: Lessons Learned from Photographing a solar eclipse thumbnail

On August 21, 2017, I was greeted by my alarm clock at 6 am, and I rolled out of bed with excitement. I had been eagerly anticipating this day for the past couple of years, and the time had finally arrived. In a mere 9 hours, I would experience The Great American Eclipse, the first total solar eclipse visible from the United States in 38 years, a time before I was born.

My girlfriend and I got in her car and left Louisville, Kentucky, embarking on the 2-and-a-half-hour drive south to a secluded park in Sharon Grove. The morning air was warm and inviting, and as we got on the interstate, the world seemed quiet and peaceful, with most people still tucked away in their homes. The gentle hum of the engine and the wind whipping over the car were the only sounds accompanying us on our journey.

As the sun peeked over the horizon, I was happy to feel its warmth and see its glow embrace my field of view. The golden rays cascaded across the landscape, painting the sky in a brilliant array of oranges and pinks. There were no clouds in sight, and the sun shone as if it were any other summer day, blissfully unaware of the celestial event that would soon unfold.

With each mile that passed, my anticipation grew, and I couldn’t help but imagine what it would feel like to witness the moon blocking the sun’s light, casting an eerie darkness across the land. Little did I know that this experience would be one that I would cherish for a lifetime.

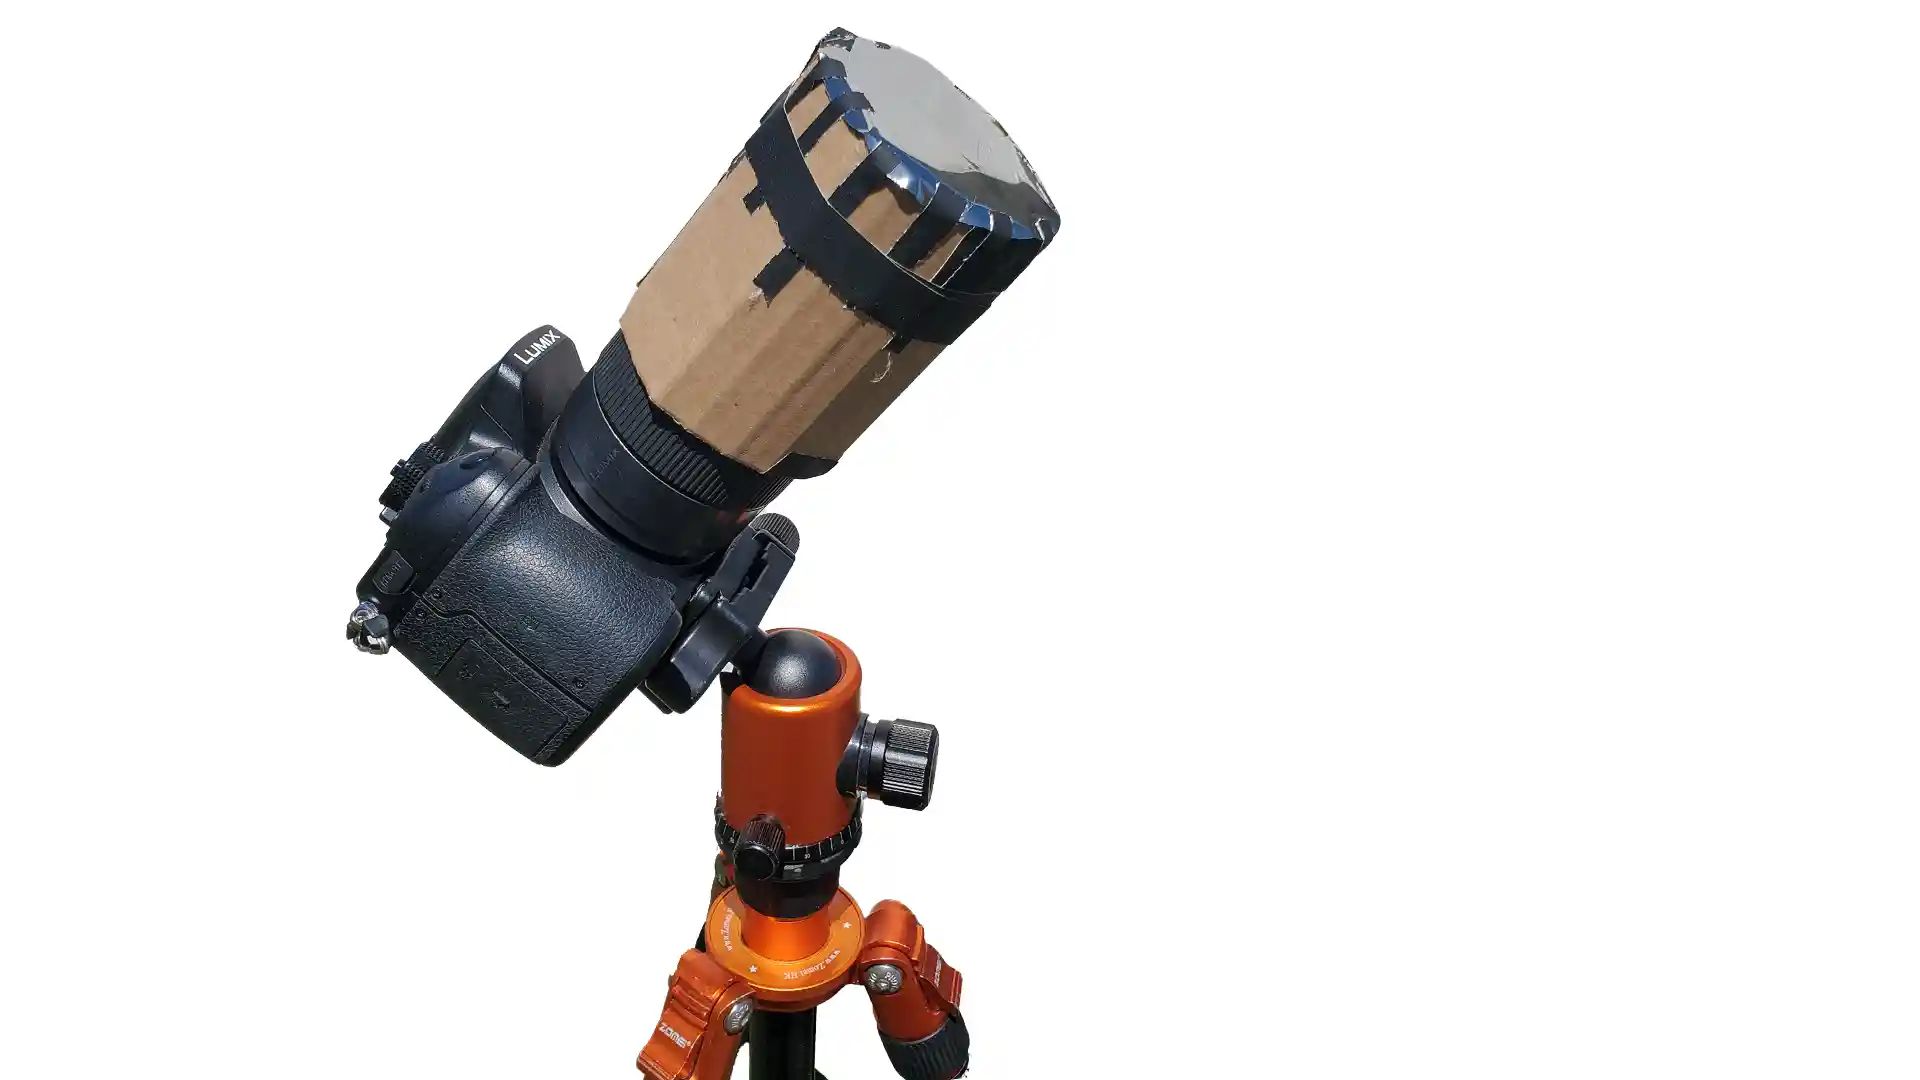
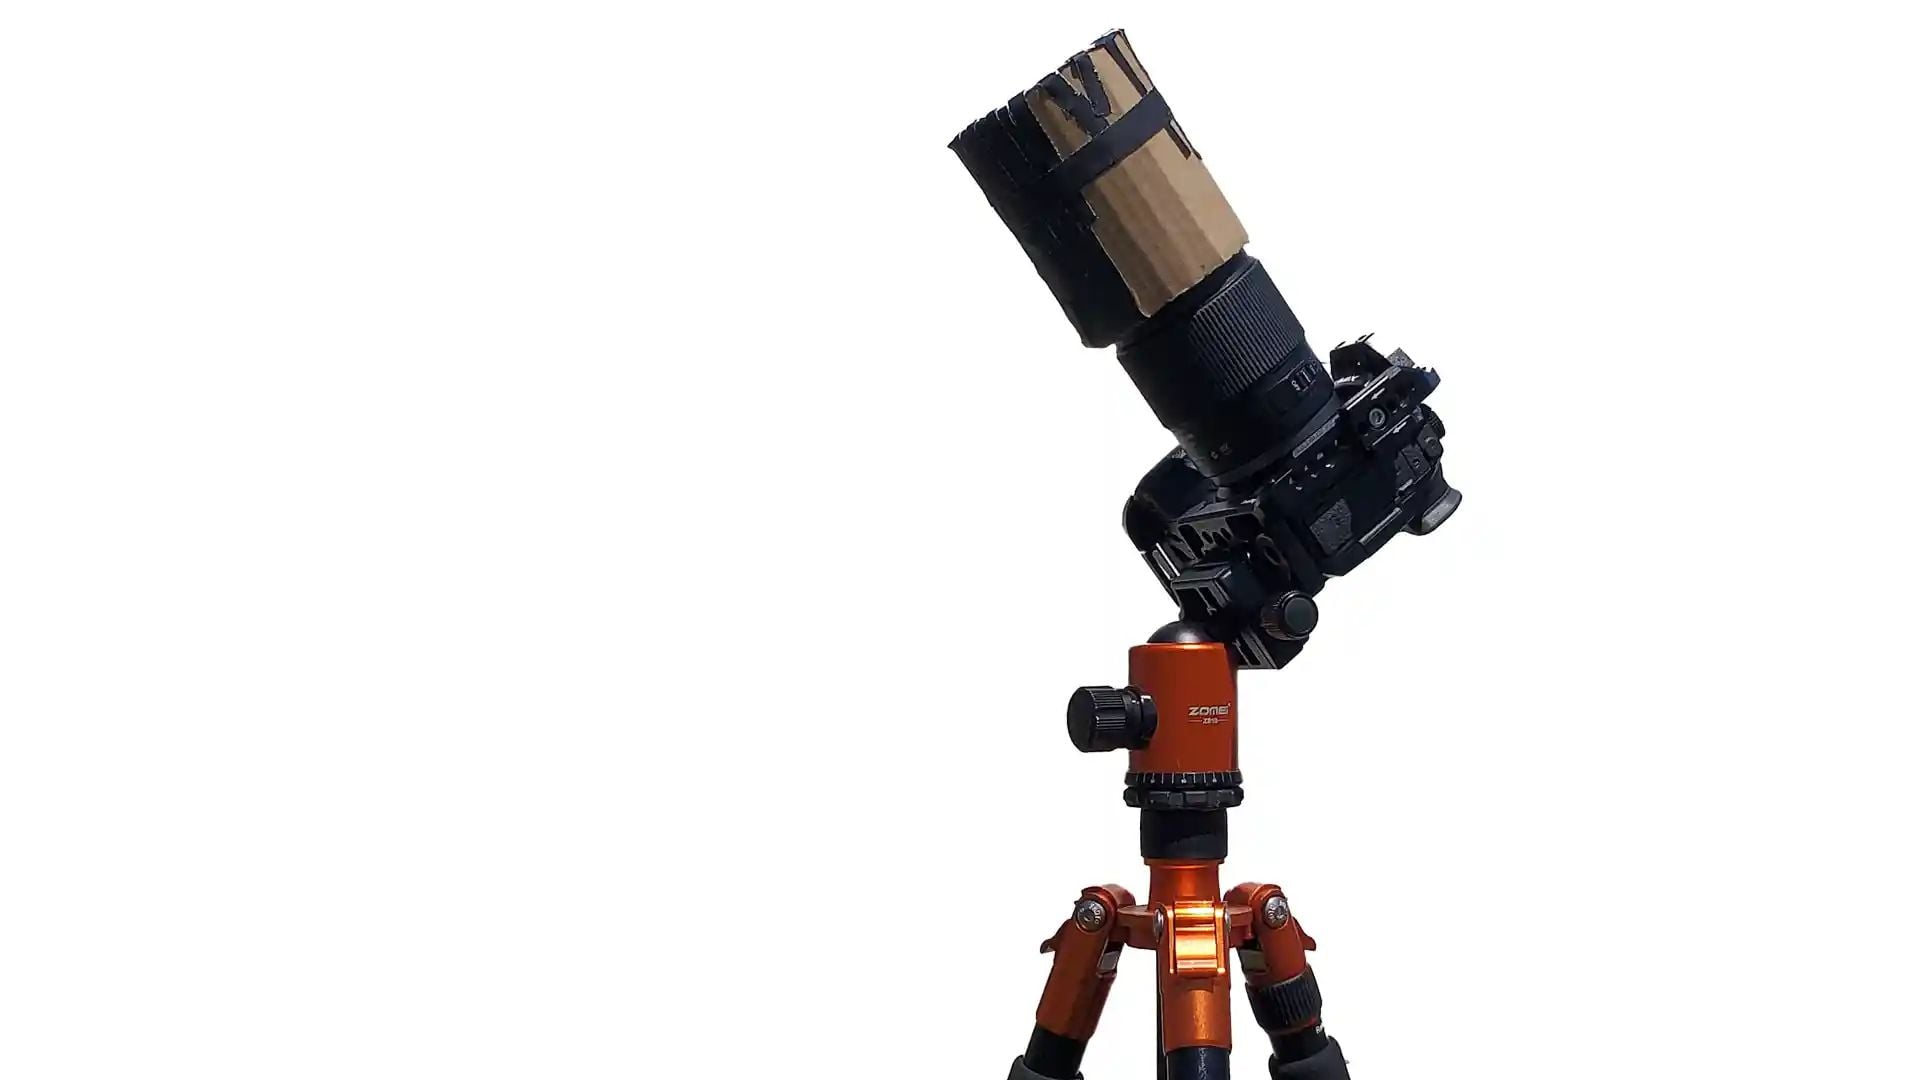
Imaging Gear Used For The 2017 Solar Eclipse

A Humbling Realization

My goal for the day, besides witnessing the eclipse with my own eyes, was to capture it with roughly $5,000 worth of imaging equipment that I used in my regular line of work as a videographer. With a decade of experience creating videos, I figured I’d be able to capture some amazing images. After all, I had seen hundreds of other stunning photos online, so how hard could it be to create something similar?

As it turns out, capturing images of an eclipse was a skill that I had yet to master. Unlike most of my professional video work, I had never recorded an eclipse before, and I could only guess what techniques and settings would yield the best results. It was a humbling realization that even with a decade of experience, I was still a novice when it came to this unique event in the sky.

Before I go any further into my eclipse photography adventure, I want to offer some advice. If anyone plans on seeing an eclipse and is considering recording or photographing it, I don’t completely recommend doing so. Not only is it incredibly difficult to capture from a technical standpoint, but you also only have one chance to get your shots. More importantly, the eclipse is a once-in-a-lifetime experience that is far more awe-inspiring when witnessed in person. I think most people would rather fully live in the moment, rather than fussing with exposure settings and framing up shots with their camera, potentially missing the breathtaking beauty unfolding before them.

YouTube video
[embedded content]

Hindsight and Realization

With that out of the way, back to the story and what I learned from 2017. The sun, now higher in the sky, cast a brilliant light across the countryside, illuminating the lush green fields and towering trees that lined the highway. It was a picture-perfect day, and I couldn’t help but feel a mix of excitement and nervousness about my attempt to photograph this unique event.

When we finally arrived at the secluded park, I quickly set up my gear and began capturing the sun as the moon slowly crept across its face. My girlfriend decided to enjoy the experience without the distraction of a camera and sat under a shaded picnic area, patiently awaiting the moment of totality.

As the eclipse progressed and I continued to adjust my cameras, I couldn’t help but feel that I wasn’t fully embracing the moment. I messed with my equipment, adjusting dials and framing, but realized I might be missing out on something truly special by focusing so much of my time on the three cameras I had brought along.

It wasn’t until later when I reviewed my footage and reflected on the experience, that I realized I had made several mistakes in my attempt to capture the perfect shots. These errors, along with some things I did right, helped me create a list of dos and don’ts for anyone considering photographing or recording a total solar eclipse. Hopefully, this list will help others make the most of this experience while avoiding some of the issues I encountered.

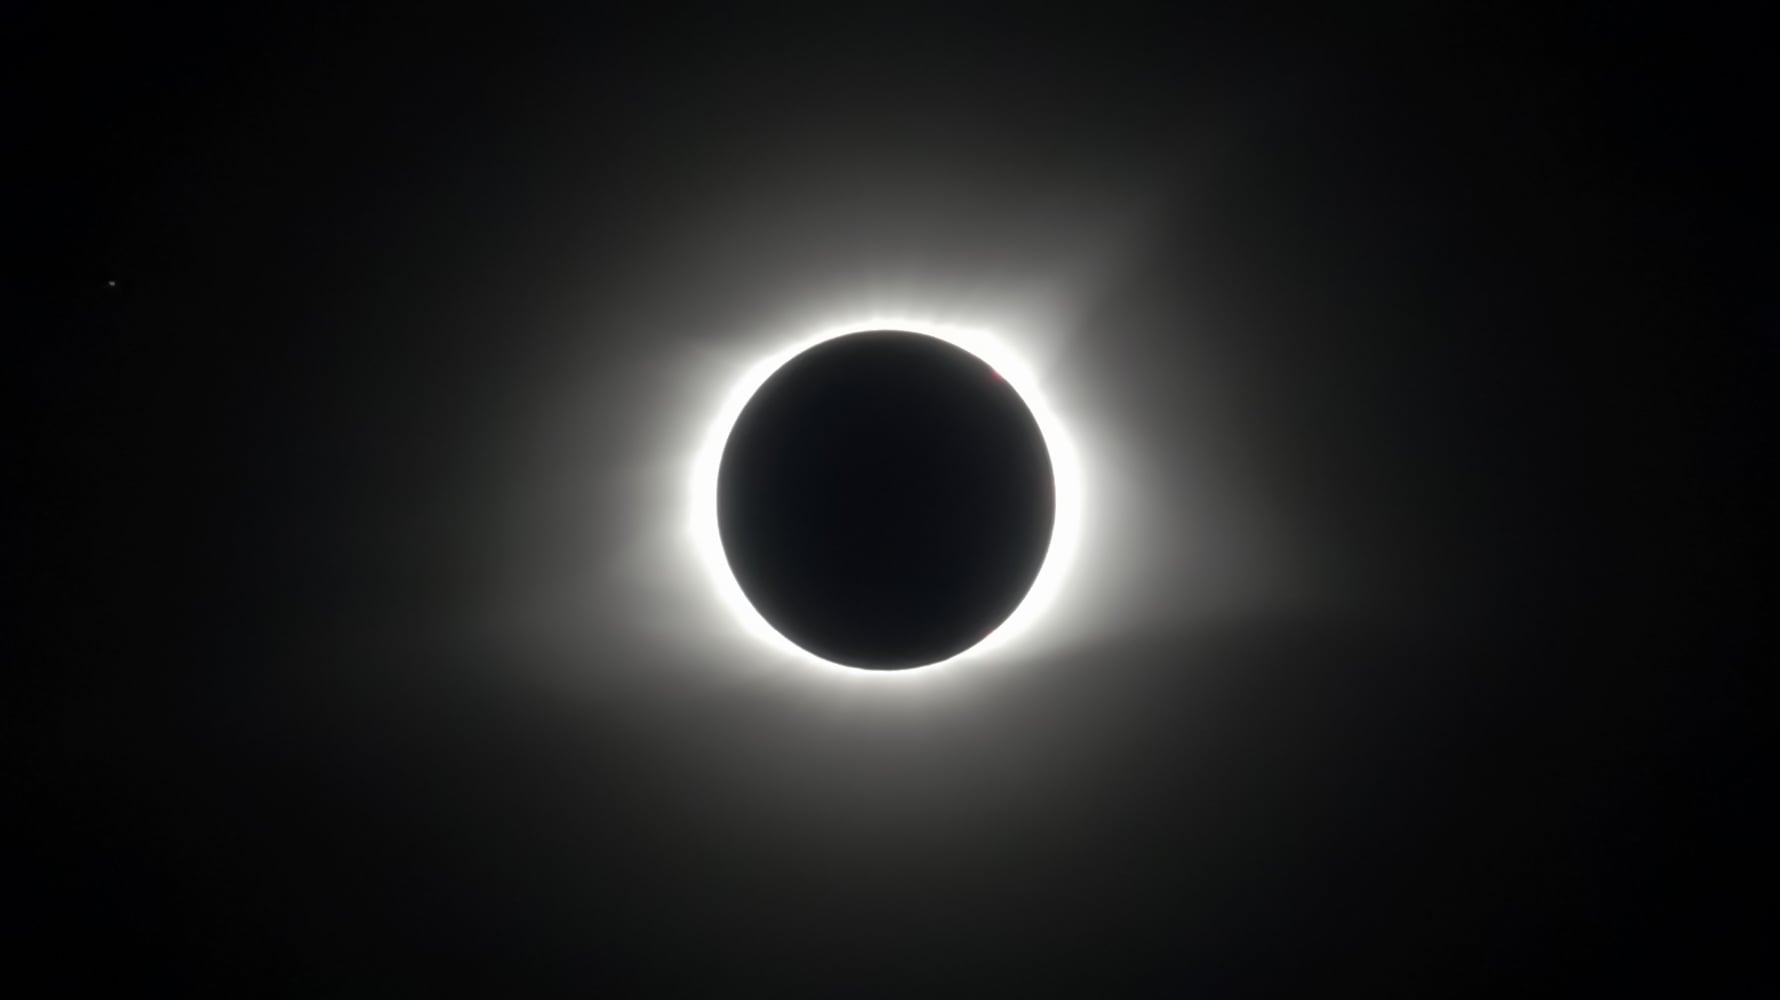
This video shows what I captured of totality during the 2017 solar eclipse, and you can hear the audio reaction from my wife and myself:

YouTube videoYouTube video
[embedded content]

Five Lessons Learned the Hard Way

Here are five don’ts to keep in mind when attempting to capture an eclipse:

1. Don’t record the sun before totality without using a solar filter.

Thankfully, this is one of the few things I got right. I made a few solar filters from solar film, which is essentially like a pair of sunglasses for your camera, but designed specifically for looking at the sun. I’ve seen photos posted online where people ruined thousands of dollars worth of photography equipment by pointing their cameras at the sun without this protection. In some instances, the sun burnt the camera’s sensor, while in other situations, the sun actually melted the aperture blades in the camera’s lens.

2. Don’t use an extremely tight zoom on the sun.

While it may look neat for the sun to fill the entire frame, unless you have specialized astrophotography equipment that can counteract the rotation of the earth, the sun will likely be out of the camera’s framing before the eclipse is over. Aim to have the sun take up no more than 20% of the frame. A photo or video that’s a little more zoomed out may seem less interesting, but it’s far better to have the sun in the shot, even if it’s smaller than you’d like. Remember, cameras have high resolutions now, and you can always crop the image later if desired.

3. Don’t touch your tripod during totality.

This relates to the previous tip of having a wider shot. When I recorded the eclipse in 2017, my camera’s lens was too zoomed in, and the sun got to the edge of the frame as the totality started. I spent a good 10 or 15 seconds fiddling with the tripod once totality began. That’s an eternity when it comes to something that only lasts a few minutes and is an event you may only get to see once in your life.

4. Don’t shoot the eclipse in slow motion.

I thought it would be really interesting to see the sun’s rays from the corona dancing around in slow motion. It turns out the corona doesn’t really move all that much in real-time, and with some cameras, you lose the ability to capture audio in slow motion. The only situation where slow motion might be cool is a shot of the “diamond ring” effect as the sun peeks through the valleys of the moon right before and after totality. Slow motion just complicates things.

5. Don’t forget to remove your solar filter during totality.

It’s unfortunate that I have to bring this up, but on the camera I had set up to take regular photographs, I completely forgot to remove the solar filter as the moon completely blocked the sun. When I looked for the images of totality, they turned out to be completely black. To avoid making the same mistake, consider setting a timer to go off right before totality with a label reminding you to remove the solar filter.

This video shows how quickly the earth darkens and brightens from a drone’s perspective right before and after an eclipse:

YouTube videoYouTube video
[embedded content]

Three Ways to Create Lasting Eclipse Memories

Thankfully, the things I do recommend for photographing the eclipse are much easier to do and will be more valuable to you when you look back on this day in the future.

1. Do look at the eclipse with your own eyes (once the moon has completely blocked the sun).

Cameras simply don’t do justice to what you’re going to see during totality. Seeing a total eclipse is, quite frankly, an indescribable experience that you have to witness firsthand. Maybe someday cameras can capture the moment accurately, but for now, they simply don’t do the event justice.

2. Do take a group photo.

Right before it gets completely dark, take a selfie or group photo of yourself and whoever you’re with. There are going to be tons of great photos posted online of the eclipse, and many will even look similar to each other. However, one photo that’s going to be completely unique and probably more meaningful is seeing yourself and who you were with that day. That’s a photo that you won’t find anywhere else online. Don’t worry about getting the perfect shot; the important thing is to capture the memory of being together during this incredible moment.

3. Do record audio of the eclipse.

This was by far the neatest thing I captured during the eclipse, and it was completely by accident. Besides the insects and animals going nearly silent, which in itself was interesting, I was completely surprised when I went through the footage and listened to my girlfriend’s and my reaction to seeing the eclipse. I don’t get excited much, but it was so neat to hear genuine excitement and awe from both of us during this amazing event. You’ll never remember your exact thoughts from the moment, but you’re probably going to say some things during the eclipse that you’ll really cherish when you look back on the day.

To record audio, use a smartphone with a pre-downloaded audio recorder app, as you may not have cell service or be able to download an app in the path of the eclipse due to the influx of people in the viewing area. Place the audio recorder in the middle of your group for the best results. Keep in mind that if it’s windy, the wind noise might drown out what you say, but capturing your reactions is still worth a try.

Damaged Cameras And Lenses From 2017 Solar Eclipse – Lens RentalsDamaged Cameras And Lenses From 2017 Solar Eclipse – Lens Rentals
Damaged Cameras And Lenses From 2017 Solar Eclipse – Lens Rentals. Click here to read the off-site article accompanying these photos.

The Bittersweet Beauty of an Eclipse

With the advice I’ve given, there’s truly nothing that can fully prepare you for the awe-inspiring experience of witnessing a total eclipse. It’s like being granted superpowers, but only for a fleeting two to four minutes. No matter how much you prepare, you’ll never be able to do everything you want in those brief moments. The eclipse will be over in what feels like an instant, leaving you with a bittersweet sense of having witnessed something extraordinary that you may never experience again.

During totality, focus on being fully present in the moment. Look up at the sky and allow yourself to be immersed in the experience. Glance at the ground in the minutes leading up to totality, and you’ll see the world transformed, with crescent-shaped shadows cast by the leaves on the trees.

2017 Solar Eclipse2017 Solar Eclipse
2017 Solar Eclipse

Embracing the Moment, Not the Camera

Personally, I’d resist the temptation to capture the event through a camera lens. Photographs and videos can never do justice to the actual experience. Instead, cherish the memory of witnessing the eclipse in its entirety without the distractions brought on by technology. The memories you create by being fully present will be far more valuable than any image you might capture.

As the moon drifts away from the sun and the light returns, you’ll be left with a profound sense of having been part of something truly incredible. The experience may be short-lived, and you may never have the chance to see another total eclipse again, but the memories and emotions will stay with you for a lifetime. It’s a powerful reminder to cherish life’s most amazing moments while they last.

P.S. If you are looking for more, we have more great tips for photographing the eclipse from Canon ambassador Keith Ladzinski

Video: Is ISO 100 always right for landscape photography?

Video: Is ISO 100 always right for landscape photography?

8 April 2024

Many landscape photographers are taught early on that they should aim to shoot at ISO 100 for the ‘cleanest’ possible photo, but when we live in an era of powerful camera sensors and AI-powered noise reduction, is this advice still sound?

[embedded content]

In this video, Mark Denney takes a look at ISO and when you may want to use a higher ISO in certain situations – such as introducing intentional camera movement in the scene, or when you have no choice but to handhold your camera.

What’s especially interesting is Mark’s objective look at whether you can actually tell the difference between images shot at different ISOs when you look at images taken at normal viewing angles – i.e, not pixel peeping. It’s food for thought if you’ve ever sweated over whether bumping the ISO is going to ruin your image.

You can see more of Mark’s great landscape photography videos on his YouTube channel.

Cover image: Mike O’Connor

Community rallies behind Reedley teen battling cancer, raising funds through photography

Community rallies behind Reedley teen battling cancer, raising funds through photography

Photographers donated their time Sunday to help raise money for a Reedley teenager fighting for his life.

[RELATED] Reedley High football player raising money for cancer treatment in Mexico

For the last year and a half, Malachi Rios has been battling stage 4 testicular cancer.

He would come into math class a lot just saying out his back hurt, and that’s really where it all started,” said Malachi’s friend Nicholas Ochoa. “He thought it was just pain from football and it turned out to be cancer.”

Despite going through high-dose chemotherapy, stem cell therapy, and surgery to remove his lymph nodes, Malachis’s cancer has returned once again, and this time, it is chemo-resistant.

“As far as we know, there is no treatment in the United States,” said Photographer Frankie Leal. “There’s a doctor in Mexico that could help treat him, so what we’re doing is trying to raise funds for him.”

Sunday, the Reedley Community came out to support Malachi as he tackles this battle

“This story really, really, really touched me because I know what it’s like to lose a child,” said Elizabeth Tienda. “I was halfway through my pregnancy, and I have my daughter’s ashes in here, and so from a mom, my daughter is supposed to be 2.5 years old right now. I don’t want any parent to go through anything like that.”

Seven professional photographers donated their time to help raise money for the rios family.

[RELATED]Reedley High football player back on the field after tackling cancer

They plan to send Malachi to Cancun, Mexico, to get special treatment.

“We know that the fees, the medical bills could be really, really expensive so were doing our part and donating our time raising money through photography,” said Frankie Leal.

“As a parent… I don’t know what they’re going through, but I can just imagine,” said Celeste Leal. “It hits right here in my heart.”

His friend said Malachi has remained positive.

“Just seeing him fight through this and being positive is really good to see, as well as how happy he keeps himself and how positive he is about it,” said Ochoa.

Now the entire community of reedley is cheering on Malachi…

“I want him to know that Reedley has got his back,” said Leal.

Even off the field.

[RELATED]Reedley High School Junior diagnosed with stage 4 cancer, football team supports battle

Families paid $65 for a photo shoot, which normally costs hundreds.

Malachi’s family is hoping he can start his treatment at the end of April.

CRNY artist in residence at JCC will continue sharing Indigenous culture

CRNY artist in residence at JCC will continue sharing Indigenous culture
image

A two-year grant through Creatives Rebuild New York that placed two artists in residence at SUNY Jamestown Community College is near its conclusion.

Jessica Kubiak, interim vice president of Academic Affairs at SUNY JCC, said the work artist Kaycee Colburn has shared with the college during the grant’s duration has been “varied and voluminous.”

“She’s spent this time developing as a public artist and really grappling with what it means to be, in the words of CRNY, a culture bearer, and this can be a complicated pair of efforts to work on at the same time.” Kubiak said. “It’s been a whirlwind of activity and emotion in general, and for JCC it’s meant being a part of artists’ lives, hopefully in several ways — as a supportive home base, a catalyst for growth, and as a partner.”

Colburn is a native of Jamestown and shared her Seneca culture through beading and cornhusk doll workshops on campus, produced enough art for two solo exhibitions, collaborated with Roger Tory Peterson Institute, and organized a flag raising with the City of Jamestown to bring awareness of indigenous culture to the area.

“The flag raising and the healing that brought not just to the community, but to my mom personally really stands out to me,” Colburn shared. “Seeing her feel safe in her own skin, because she’s had to deal with a lot of lateral racism, and have her actually feel like it’s OK to be seen and stand in the strength of that I think is why I set out to do all of this.”

Colburn gave an artist talk at Roger Tory Peterson Institute that produced another standout moment.

“I met an elder who used to make baskets with sweet grass using a technique she learned from Twylah Nitsch, who was essentially a medicine woman,” Colburn shared. “She hadn’t touched sweet grass in a long time because it wasn’t available, so I gave her a piece I had on my dashboard and she cried. It sits in my brain that this is something that needs to change.”

There have been an abundance of growth opportunities in the last two years. In addition to teaching and sharing her culture, Colburn has been a dean’s list student every semester at JCC, and made a run for political office.

“As an artist I’ve had a lot of growth, and definitely as a teacher,” Colburn said. “I’ve worked with students who have autism and other disabilities and I’ve really had to be open minded as to what was going to work for different students. We all have different needs. I saw one student months after he participated in a workshop and he was so excited to tell me he still had his cornhusk doll. It’s been a very rewarding experience.”

Colburn’s latest project will continue her work beyond the conclusion of the CRNY grant, which was designed to support employment opportunities for artists and funded collaborations between community-based organizations, municipalities, and tribal governments across New York State. Her work in this program became a springboard for KayCo, an art and cultural center Colburn opened in February in Jamestown.

“KayCo was never a dream of mine, as much as it was a vision,” Colburn said. “I always knew there was a large cultural gap and now I have an opportunity to do something about that.”

KayCo is located at 20 W. Third St. in Jamestown. The space includes a room dedicated to her flag-raising event, a main gallery that features Colburn’s digital work, and a space that holds her works that delve into the paranormal.

Having seen first hand the benefits of having artists like Colburn on campus, Kubiak hopes groups like CRNY continue to create opportunities like the artist in residence program.

“I’ve been so honored to be one of many Kaycee has worked with to start developing the next phase of her career through KayCo, and other efforts at making room for local indigenous people to explore and express their varied identities,” Kubiak said. “Doing such work is especially critical for people whose identities aren’t reflected in established arts, media, and cultural spaces, and I’m grateful to her for prioritizing this.”

Colburn said the space will allow her to continue doing workshops like she has at JCC and in the community. KayCo is open from noon to 4 p.m. Monday and Wednesday, and 2 to 6 p.m. the first Saturday of each month.

“The hours are a little weird while I transition from full-time artist and part-time student, to being able to put my full focus into KayCo,” Colburn said. “I plan to hold scheduled events, and anyone can request to schedule any sort of event from a sip-and-paint to a more educational, cultural workshop.”

Colburn said a website is being developed and the center has a Facebook page.

Tell a story with your food images says Food Photographer of the Year

Tell a story with your food images says Food Photographer of the Year

To capture the title-winning shot, Jon travelled to Mumbai, India, one of the busiest cities in the world. “I read an article years ago about food colourings in sweets, with candy floss as an example, so I could vividly see what the photo series would look like,” he says. 

Although Jon won the title, he does not describe himself as a food photographer in the traditional sense. “Taking images of lasagne doesn’t interest me, I focus mainly on the human side of the equation. As a food image, it’s a bit different and in the world of photography different is your superpower”. When creating a personal project, Jon finds a back story that initially inspires him that has certain criteria he is looking for – and this idea ticked all his boxes.

Jon Enoch

The Candy Man
Jon’s winning image in the Pink Lady Food Photographer of the Year competition pictured candy salesman Pappu Jaiswal on the streets of Mumbai, India
(Image credit: Jon Enoch)

Preparation is key

“I always have a backup plan – and a backup for the backup plan. It might be spare kit or a quick fix if something goes down but also a spare idea if things aren’t working. I turn up before the subject to prepare everything in advance. You can never over-prepare.”

Photographing in Mumbai brings challenges, including the relentless heat and humidity and the sheer amount of people. Shooting at night was a good option, as the temperatures are slightly lower, it’s a bit less busy and the jet lag is less of an issue. Therefore, lighting was one of Jon’s first considerations along with the initial practicality. “What lighting can I take on the plane with me, what is portable and flexible as I don’t know the city layout. Then I ask myself what atmosphere I want to create from the lighting setup. It’s all about the atmosphere – enhancing what’s naturally there,” Jon says.

“Getting around in Mumbai is a nightmare and our setup with all the lighting attracted a lot of interest. We had an amount in cash for smoothing the way with local police, which is an unusual item to see on the production plan,” he explains. As the images were shot at night, Jon could control the lighting, and give it an unusual take. “I had a crew of two assistants, and we set up the shot with the lighting as quickly as we could with the crowds building up around us. The portrait was shot with a Canon 5DS R, with 50mm Sigma f/1.4 lens at 1/160 sec at f/5.6 and ISO 400,” Jon explains.

Jon Enoch

Jon is an award-winning London-based portrait, advertising and lifestyle photographer with a bold, uncomplicated approach to his work. This covers campaigns for advertising agencies, working directly with brands worldwide and he also shoots portraits of sports personalities, celebrities and CEOs.

Get inspired

Fish man
A fish seller and his mobile shop captured on the streets of Hanoi, Vietnam
(Image credit: Jon Enoch)

Let your environment influence you to develop ideas with impact 

“I allow inspiration to come to me in any guise – it could be something I see when walking around London, on TV or online. The smallest unusual item can spark an idea. I let my ideas stew for a while, if the concept keeps popping up, I know I’m onto a good idea. Once I’ve made a decision to do a personal portrait project, I don’t hang about. I get it planned and booked, often in fear that someone else will complete a similar project. Ideas are the key – original ideas are gold dust.”

Career Advice

First-hand tips to build, form and develop your photography business

1. Take every opportunity

“My most important tip for early career photographers is always to grab every opportunity that is offered to you. You don’t need to emerge fully formed. Take the opportunity and make the most of it – at the very least you will learn how to get better. There are great images everywhere, you have to get out there and find them.”

2. Build your team 

“I have a small and loyal mix of people I call upon so I can scale up and down for any shoot. I work with assistants, as you might expect, but as you grow, this will extend to other areas, such as accountants, kit hire houses, stylists, makeup artists and designers. Treat people well and they tend to put a shift in for you when you need them.”

3. Invest in yourself

“I put a fixed percentage of turnover into a separate bank account and 100 percent of that has to be spent on creative development. It’s a simple trick but one that works for me. If I have a few spare days between commercial assignments, then great. I can reinvest some of the cash into shooting a little personal project.”