Businesses encouraged to sponsor ice sculptures at Alpena Ice Fest
The loon statue, a …
By Admin in Photography
Niwot resident Anita Wooldridge has been making the most of her retirement by devoting her time to photography. She specializes in nature and wildlife, capturing the natural beauty of the Rockies, Yellowstone National Park, and the Grand Teton National Park in her work. Her photography captures a feeling of quiet serenity, and offers a calm interlude to a busy life.
Wooldridge said she first got started with ocean photography while diving, about 20 years ago. “…(B)ringing a camera underwater made me look at things in a different way,” she said. “I slowed down and really looked. Photography taught me patience!” After her retirement, she traded underwater landscapes for the wilderness of the Front Range and the mountains.
Wooldridge said jokingly that she will photograph anything but people. Her photos feature ranges of mountains, lakes mirroring the forest, and various wildlife. She has captured many animals in their element, from moose and bison, to wolves and black bears.
Wooldridge’s favorite shot is a large bull moose in front of the sweeping landscape of the Grand Tetons in Wyoming. “That was an image that I had ‘visualized’ and finally it happened,” she said. Though the shot seems a product of luck, she emphasized how much time and patience it took to be in the right place at the right time.
“People always say how ‘lucky’ I was to capture a moment,” she commented. “Luck is only a small part of it. Being persistent, going out when sometimes you don’t want to go, putting in the time to find that moment.”
Her work certainly demonstrates the amount of patience required for effective wildlife photography. A wolf bending its head to drink from a river, a coyote catching its tail, and two moose “smooching” are examples of some of the incredible shots she has taken.
For Wooldridge, photography is about telling a story. “Landscapes, for me, can invoke memories of past visits,” she said. She likes to capture unique animals doing unique things, which often sparks conversation about how she managed to get her phenomenal pictures of the moment.
Wooldridge mentioned that the most important part of photography and capturing her “lucky” shots is to make opportunities to photograph often. She said persistence is key in getting the best shot. Her best advice to amateur photographers is to go out as much as possible, in order to increase the chance that you might capture the unbelievable.
By Admin in Photography
When asked about the influences shaping his work, Philip Venable admits to admiration for Ansel Adams, the most honored photographer of the 20th century and an effective advocate to preserve America’s remaining wilderness areas.
But Venable, a Vacaville resident and retired Contra Costa County Sheriff’s deputy, “emphasizes that he composes his own unique melody,” his own visual language with a message, said Dennis Ariza, president of the The Fairfield-Suisun Visual Arts Association, which has mounted an exhibit of the photographer’s work at the Solano Town Center.
The show, “Wild Thing” — “dedicated to celebrating our inner wildness,” Ariza said in a press statement — continues to Feb. 21 at the FSVAA gallery in the Fairfield mall, at 1350 Travis Blvd., suite D-8.
Venable’s exhibit within the exhibit is his “Dreamscape” series, what Ariza called “a collection as a heartfelt homage to his late wife.”
After her death, he crafted a digital alternate reality, giving the collection of photos its name, “to maintain that connection,” Ariza wrote in the prepared statement, adding, “The series, with its symbolix portal, serves as Philips bridge to that alternate reality where his cherished memories thrive.”
Venable, who retired from his law enforcement career in 2011, embarked on his photographic journey in 2010, refining his craft over the past 13 years and using a Nikon camera to do so. He had always been a shutterbug from age 10, when he received a Kodak Box Brownie camera.
An Air Force veteran, serving from 1976 to 1980, he won a juried art show in 2013 at the Vacaville Art Gallery and was the subject of an artist’s profile in The Reporter in 2014.
Besides photos of nature — a reference point sparked by Adams, who, with Edward Weston and Imogen Cunningham, co-founded the seminal Group f64, and other photographers, including Robert Adams, a founder of the New Topography of the 1970s — Venable captures a wide variety of subject matter, from Civil War reenactments and vintage vehicles to trains and landscapes.
“We are delighted that he is bringing his artistry from the proverbial darkroom into the radiant light of public view,” said Ariza. “His lens captures the essence of life in its most authentic form, a testament to his unfiltered perspective.”

An artist’s reception will be from 4 to 6 p.m. Jan. 27. Some light snacks, berages and wine from gallery sponsor, BackRoad Vines, will be available.
Additionally, the FSVAA this year kicks off its 80th anniversary by celebrating “80Years of Art” in Fairfield. In the coming weeks and months, the artists group will be organizing different events to celebrate eight decades, said Ariza.
“Each of our shows will feature something special as part of the celebration,” he added.
For more information, visit www.fvaa-arts.org.
By Admin in Photography
Just like most photographers, my off-camera flash journey began with the purchase of a speedlight and some inexpensive triggers. Many photographers will tell you that as soon as you get a speedlight, you need to acquire proper off-camera flash units. However, there are still many things you can do with a speedlight, and in this article, I will show you some of them.
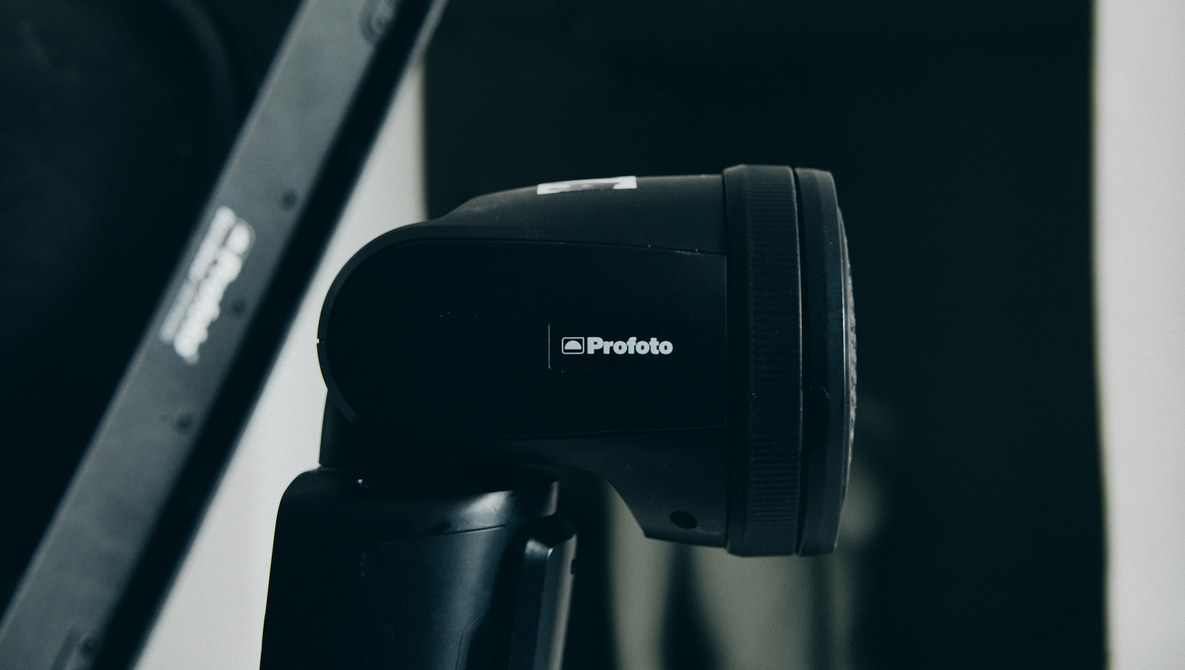
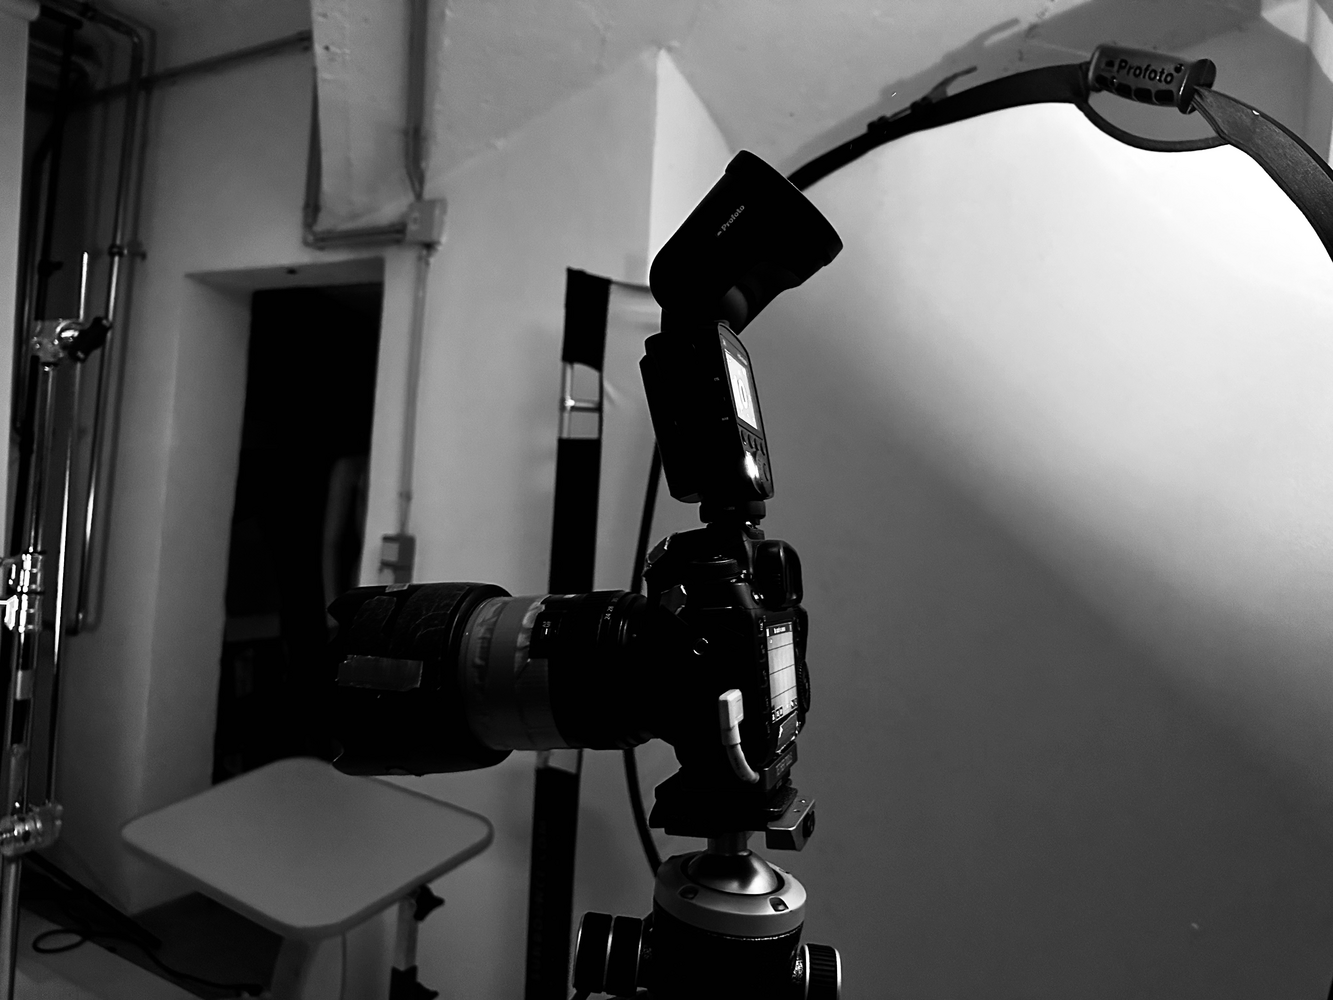
A single speedlite is sometimes all I have on a shoot. While these times are rare, and often, if I do have a single light, it’s a Profoto B1X. There have been times when an A1 was all I had. Not to worry, my friends. If all you have in your kit is a speedlight from Amazon, you can do most of these setups anyway. In fact, I angled the article in a way that enables as many photographers with a speedlight to do these setups. To create these setups, you will need: a speedlight, a remote trigger, a light stand, and possibly gels. It’s that simple, really. If you’re interested in the gear I am using, here it is: Profoto A1, Profoto Connect Pro, Profoto Clic Gel Teal, Manfrotto MLHHS-2, Avenger 40” C Stand kit.

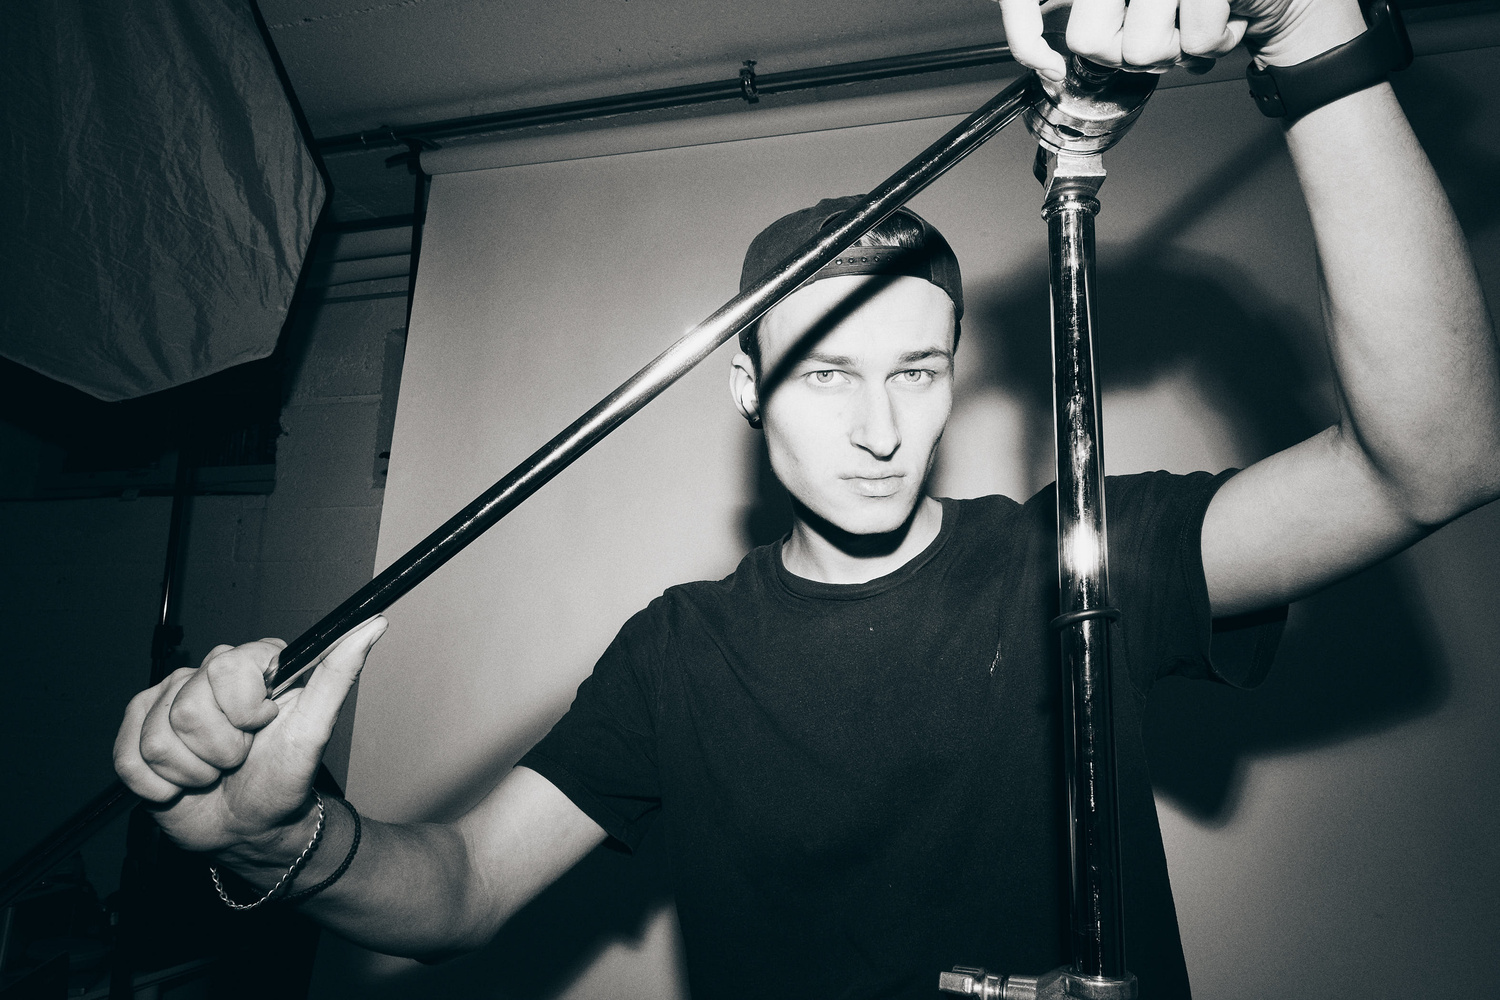
One of the most popular looks nowadays is the so-called bad light. You see, back in the day in the 80s, all you had was a point-and-shoot with a small point flash. Everyone looked ugly in those photos, and as soon as softboxes and lighting knowledge became more accessible, people started classifying this light as bad, and soft as good. However, it seems like the aesthetic is coming back to this very real and raw-looking hard light. This setup is super popular with event photography and is often done with a phone as well. Your iPhone camera is not that different from what I captured here.
The technique here is simple: I just point the flash at the subject, overexpose the subject, and voila. The key is to overexpose. You can have your light set to TTL mode but make sure to turn up the power by a stop or so. This will give the signature look. I say don’t be afraid of this look, as it is gaining popularity. The aesthetic has shifted from pretty and clean towards raw and real.
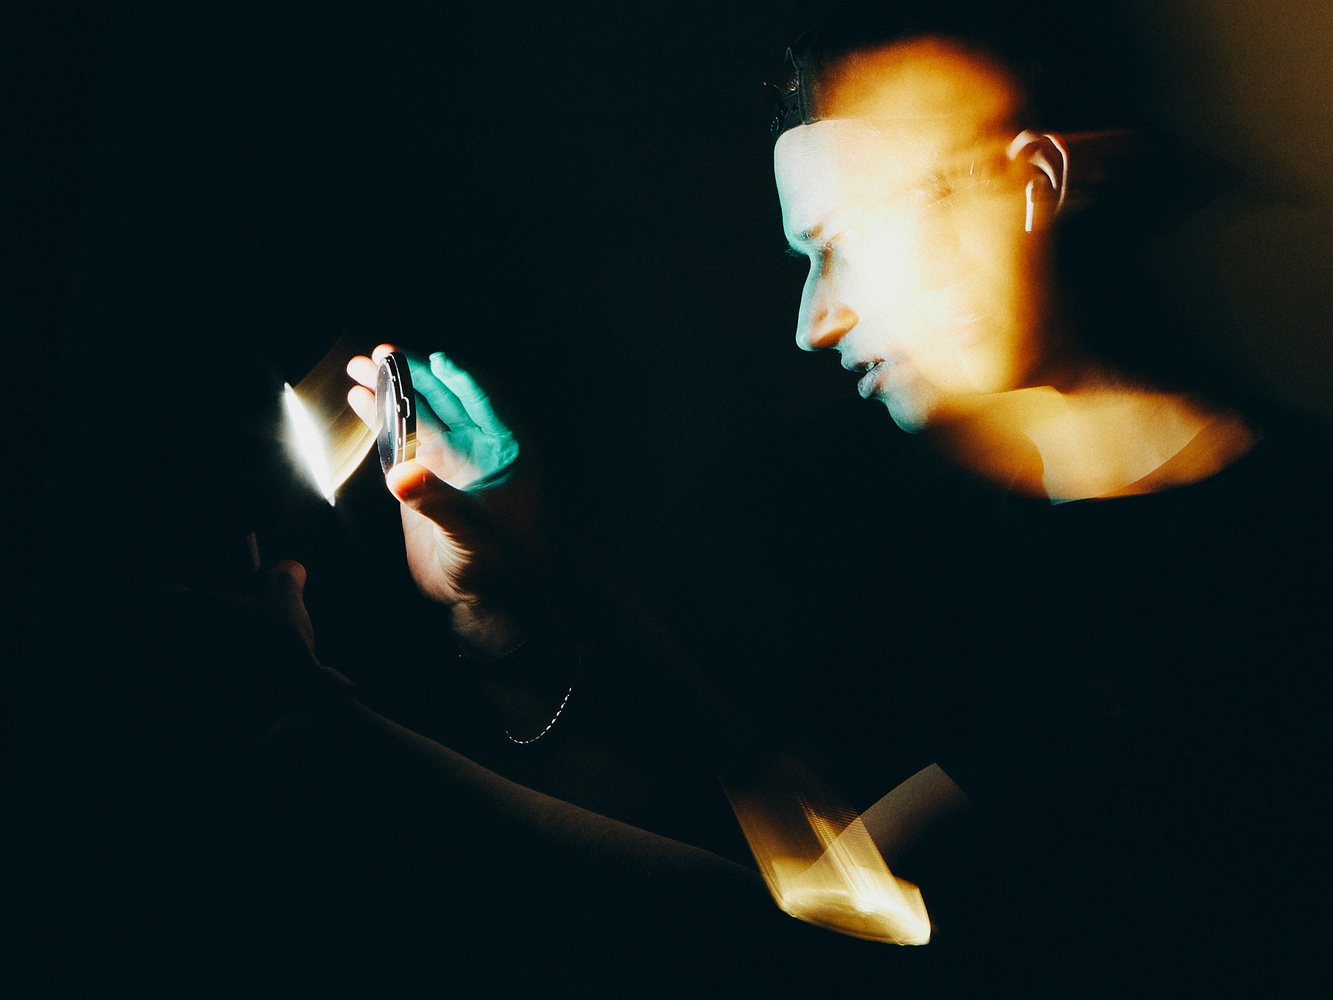
By far the most creative setup out of these, which you can use to get interesting long-exposure portraits. Some speedlights nowadays have a built-in modeling lamp, which allows photographers to light up their scene in multiple ways. The Profoto A1 is no different and features such a light. You can even zoom it! Anyway, here is how I did this setup. First, I made sure to use a long exposure. The idea was to have the flash be a different color from the constant light. This can be done by placing a gel over the flash just as it is about to fire. Hence, the exposure time was around 1s. It is important to mention that this is only possible in a dark room, as you want to make sure that there are no other light sources hitting your subject. Ideally, have a friend do the gel part. To make things even more fun, you can move the light around as the shutter is open. This technique is quite difficult, which is why after a few tries, I settled on the image of placing the gel on the light.
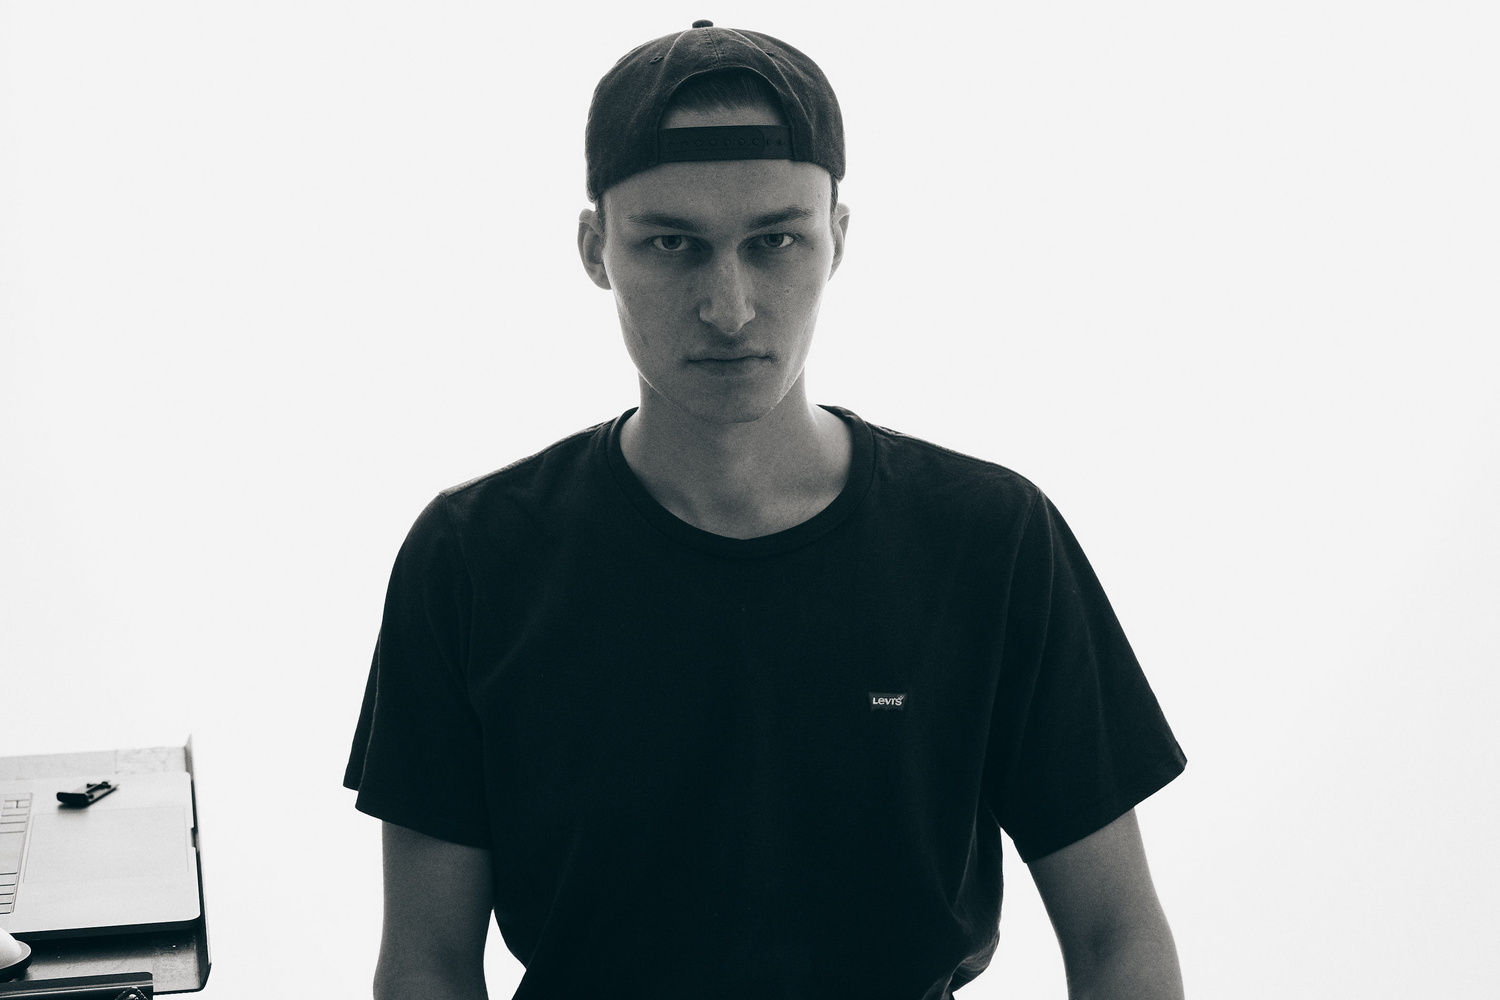
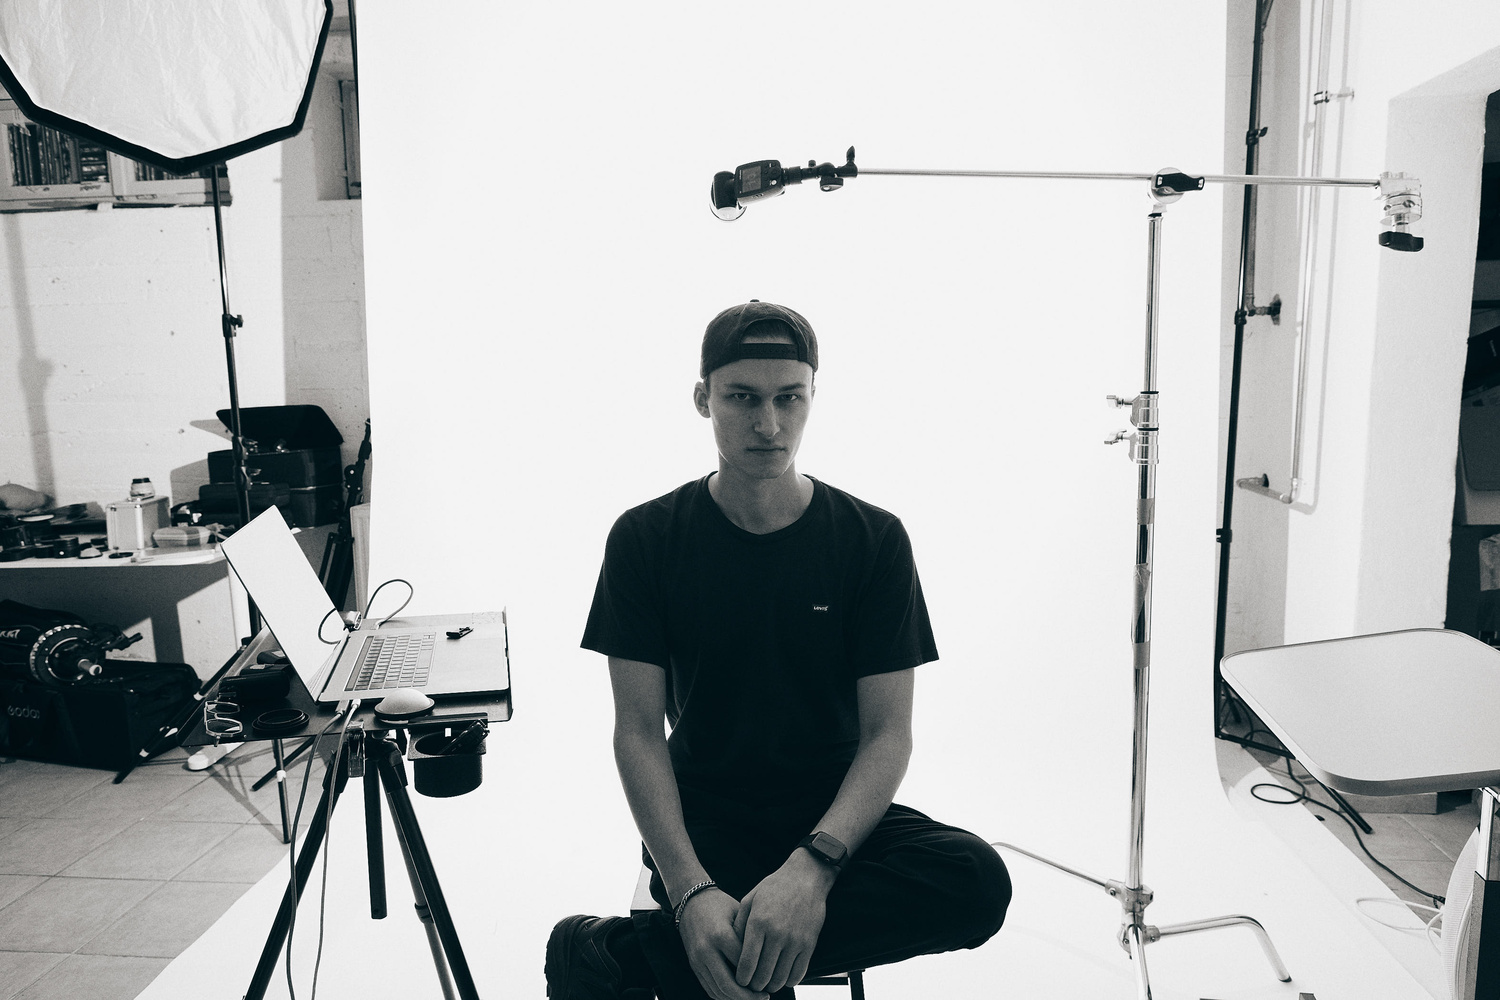
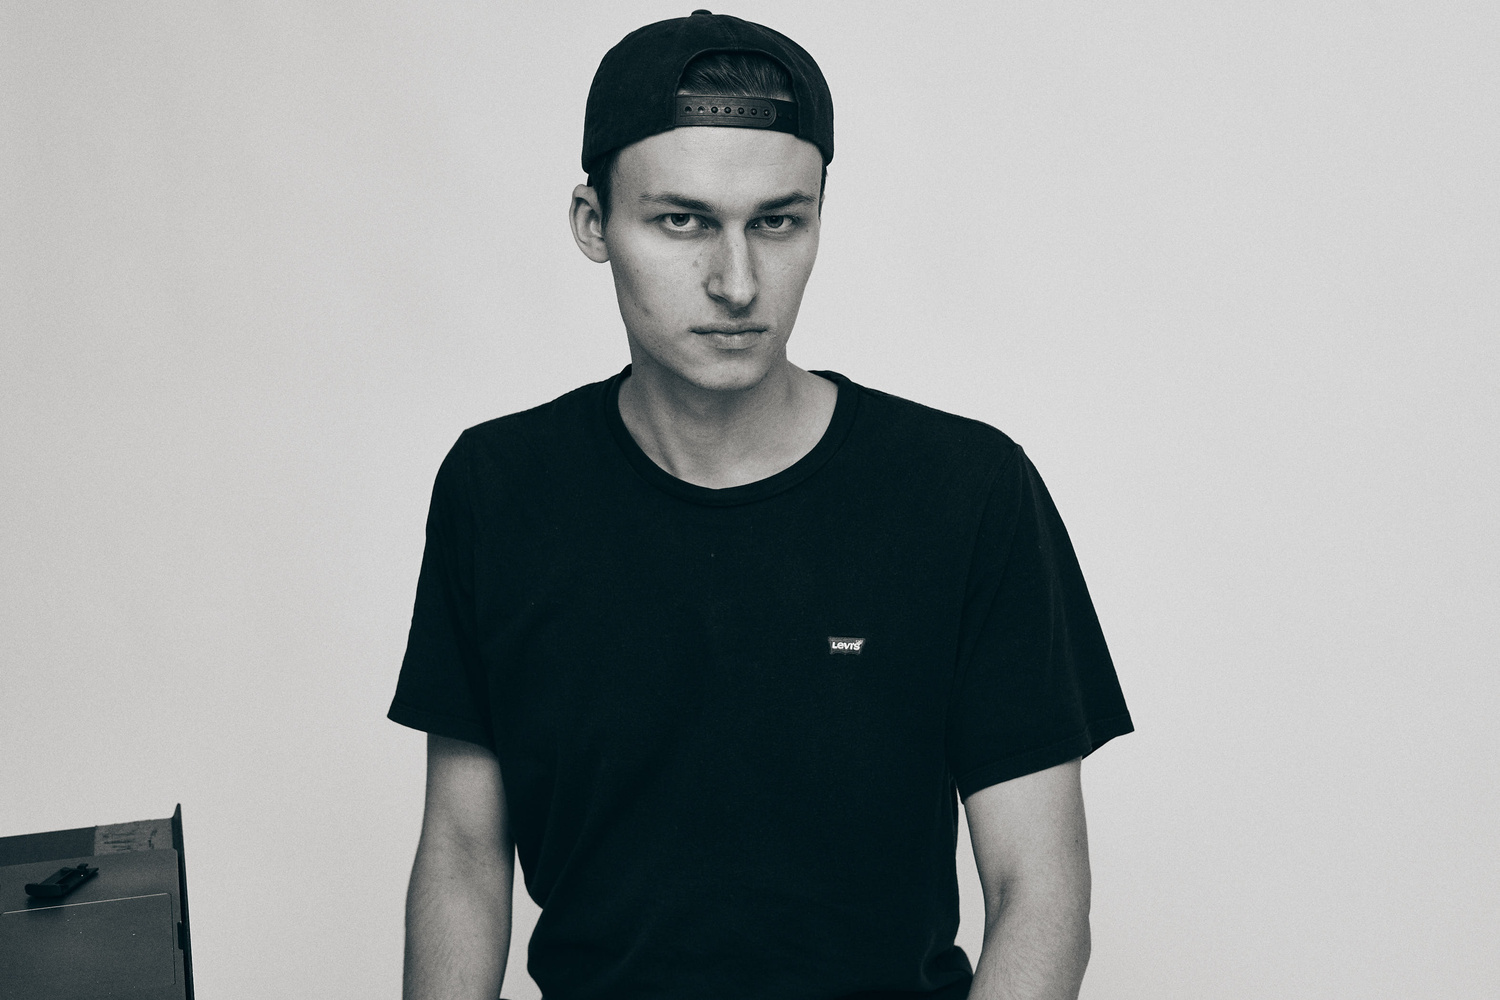
Simple, one light pointed at the subject from the top, however, the subject is placed right at the background. This way, you get almost no shadows, and your lighting is reminiscent of how a ring light would behave. Since I was alone doing these images, I had to trigger the camera remotely. However, to better this setup, you can take the light off-camera and place it right next to the lens. Some photographers use a bracket for this. While a very 80s technique, it does give off very good high-quality hard light that brings out detail in the subject. Use with caution, as this is probably not the most flattering technique.


If flattering is what you are looking for, then the next two setups are for you. In the first one, I place the light overhead but sit behind it. As such, the speedlight is lighting the background, and not me directly. What this does is turn the background into a massive light source, thereby giving a backlit effect. This is excellent for highlighting facial structure as well as hiding bad spots on one’s skin. This setup can work well on its own or be a great foundation for adding more lights and crafting the image further. Another way to build on this setup is to place the subject behind a black piece of fabric in a way that only covers the subject and nothing else. This way, you will get a rim light going all around the person.


The last setup is perhaps the one you already know, but for those who don’t, here is how to get soft light fast. Essentially, this is one of the first techniques photographers learn when starting their flash journey. Still, I see so many people do it wrong. While the concept of bouncing light is fairly easy to explain: big light = soft light, the right way can be a little tricky. Most photographers, myself included, will either aim the speedlight straight at the ceiling or at a right angle away from the subject. These are not the best ways to bounce light, as you are creating a top light and shadows under the eyes with the first method, while the second method may leave people behind you blind for a minute. The right way to bounce light is to aim the flash head at a 45-degree angle away from the subject. This way, you will be wrapping your subject in light from both the ceiling and the wall. As such, there will be no dark shadows under the eyes, and the people behind your camera won’t get blinded.
Are there any cool one-speedlight setups that you know? Share with us in the comments below!
By Admin in Photography
Mastering Smartphone Photography: Composition Techniques to Enhance Your Shots
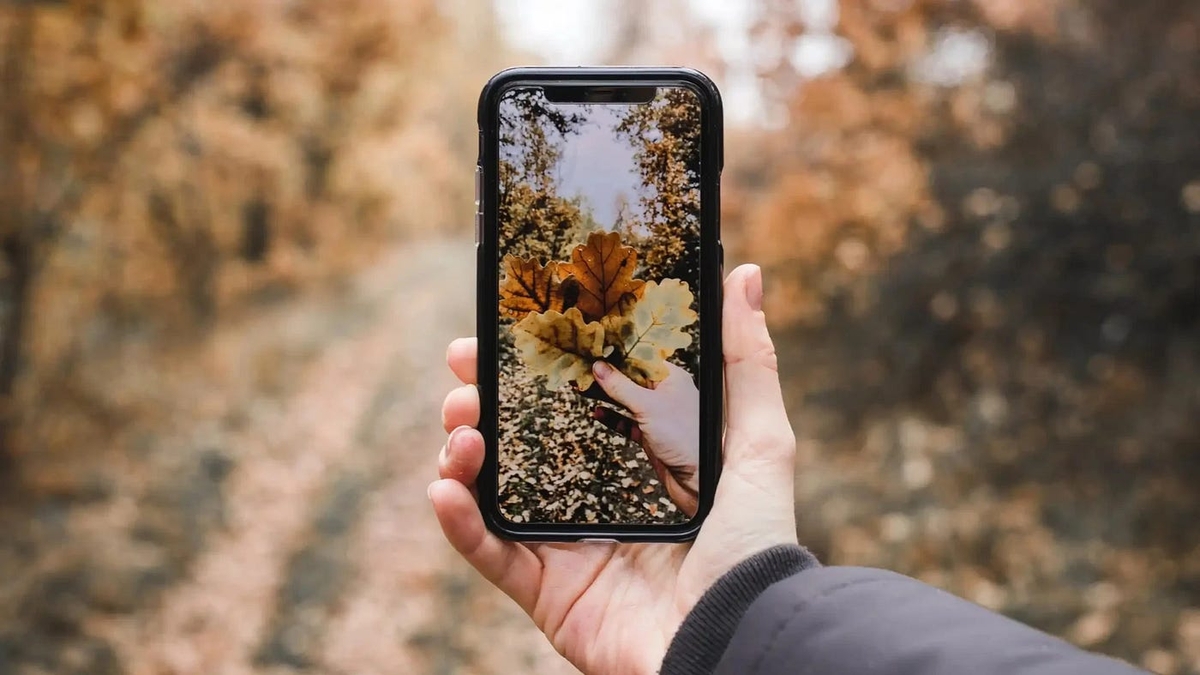
In the pulsating, evolving narrative of technology and its integration with our daily lives, the smartphone stands out as a game-changing protagonist. Today, a phone is more than a communication device; it’s an essential tool for capturing the world around us. In particular, smartphone photography has become a popular medium, transforming how we perceive and interact with our surroundings. This article will provide practical tips to improve your smartphone photography skills, primarily focusing on composition techniques.
One of the simplest ways to enhance photo quality is by altering your point of view. Often, a dramatic effect can be achieved by capturing images from lower or higher angles rather than the conventional eye-level shot. This perspective shift can introduce an intriguing element into your photographs, making them more engaging.
Another essential tip is to harness the power of the camera grid to apply the rule of thirds. This principle suggests that an image should be divided into nine equal parts, with the key elements of the photo placed along these lines or their intersections. Using this rule can create a balanced and aesthetically pleasing composition.
For portrait shots, isolating the subject from the background can significantly enhance the impact of the image. Most smartphones come equipped with a portrait mode, which creates a blurred background effect, drawing focus to the subject.
In low-light situations, it’s advisable to avoid using the flash as it often results in overexposed images. Instead, try to stabilize your phone by resting it against a surface or using a tripod, which can help produce clearer shots.
For landscapes or wide images, using the panorama mode can be effective. However, care should be taken to avoid distortion. Furthermore, to experiment with motion, try slowing down the shutter speed to create light streaks in photos of moving subjects.
Finally, consider the use of photography apps that offer manual control over camera settings. Such apps can provide a range of options for adjusting exposure, focus, and white balance, giving you greater control over your images.
These tips, aimed at both new and experienced smartphone users, promise to elevate your photographic journey, transforming everyday moments into extraordinary memories. The smartphone camera, in your pocket, is indeed a powerful tool. It’s all about learning to use it well.
Milwaukee Art Museum announces new Herzfeld Center for Photography show
Wondering what’s the importance of PDF editing software for photographers? Hop inside this guide to find out!
The loon traveled from Los Angeles to its permanent home in the Twin Cities.
A new beetle species has been named to honor a fellow Husker, bridging the worlds of academia and wildlife conservation.
Silversea, a premier brand in experiential luxury and expedition travel, recently concluded the inaugural season of its first Nova-class ship, Silver Nova,
The Desert Foothills Land Trust (DFLT) is proud to announce a special presentation event featuring acclaimed botanical photographer Jimmy Fike on Saturday, Oct. 12 at 6:30 p.m. at the Sanderson